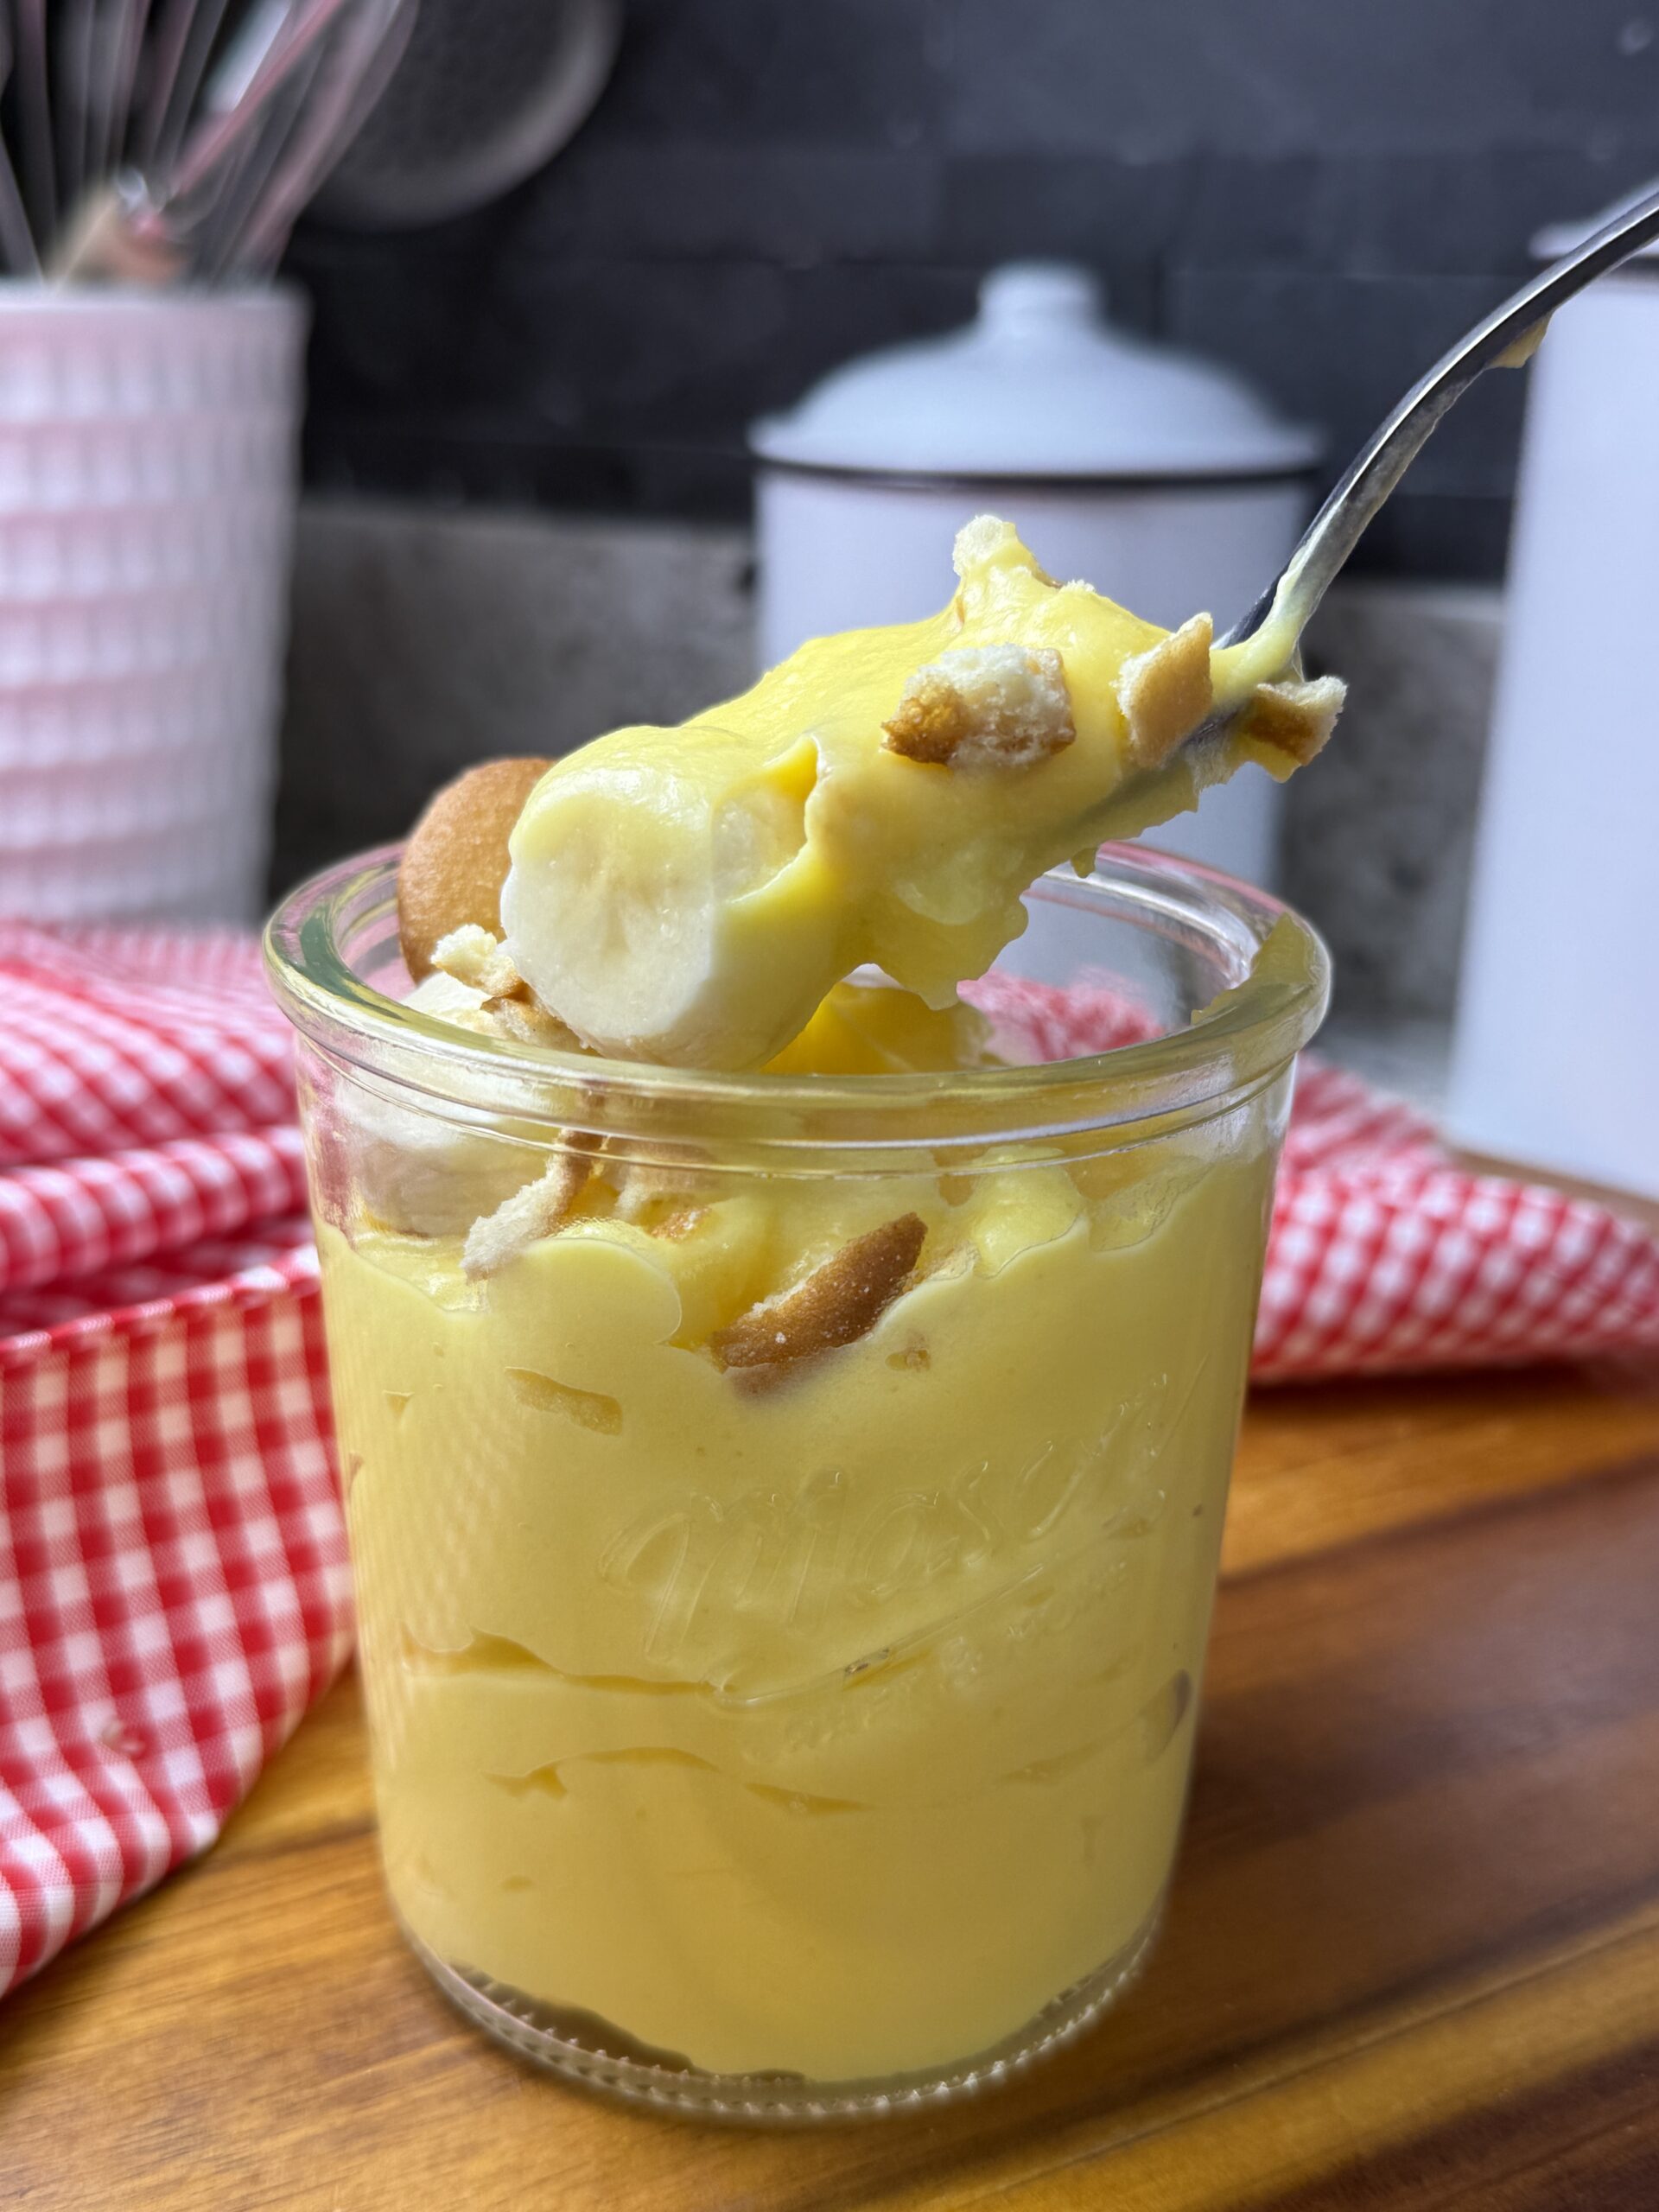
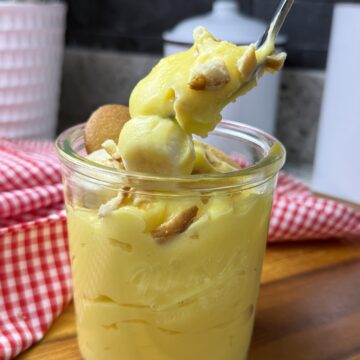
Best Banana Pudding
This creamy, dreamy, classic dessert is always a hit! Letting it chill in the refrigerator for a few hours allows the banana flavor to deepen and the cookies to become soft and cakey. Heavy cream makes it rich and smooth. Perfect for days when you don't want to turn on the oven but still want a showstopper!
My oldest son used to have a BBQ and burger business and along with catering he did pop ups that were super popular and always packed (so proud of him!!). I did all of the desserts for them and this banana pudding was always the first to sell out. Everyone always asked for the recipe and I was zip lipped about it ......until now!
My son has decided to go to law school (did I mention how proud I am of him?) and now only does occasional catering events and pop ups, so if you're at one of those and banana pudding is in your order you now know how it's made!
Here's What You'll Need
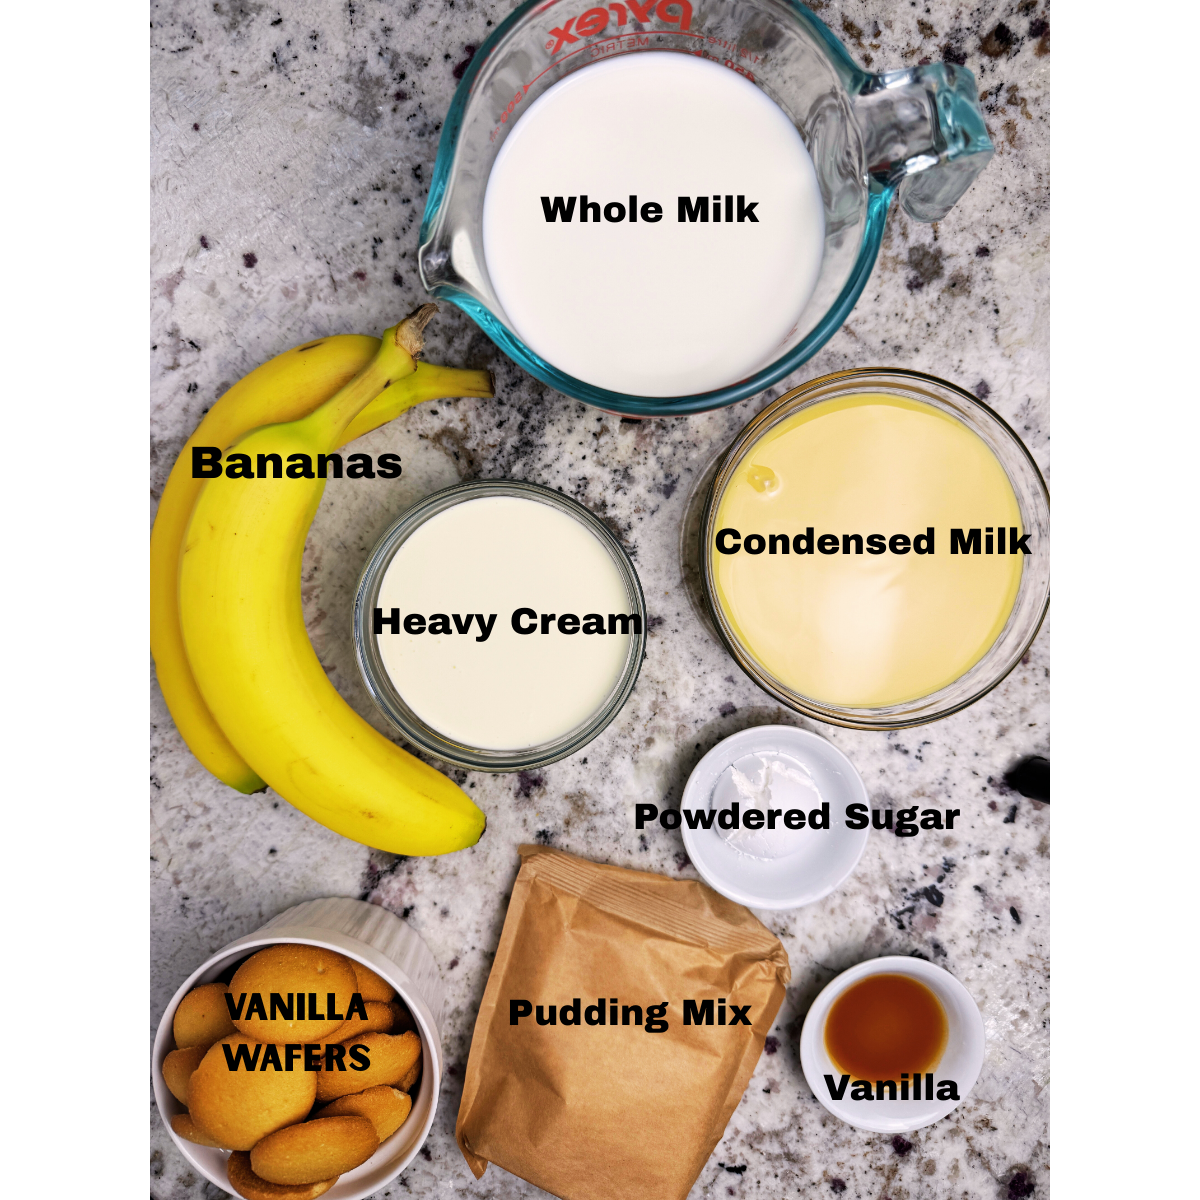
- Whole Milk - Reduced fat makes it feel 'thin' and plant based won't work
- Bananas - Not green but not too ripe or they will get very mushy
- Heavy Cream - You can use heavy cream or whipping cream, either way it needs to be super cold
- Condensed Milk - Provides sweetness and a velvety texture
- Vanilla Wafers - They become cake-like after the pudding has had a chance to sit
- Pudding Mix - Vanilla instant pudding, banana flavored is just a weird taste
- Powdered Sugar - Don't use granulated as it won't dissolve and pudding will be gritty
- Vanilla - Amps up the vanilla-ness (that's a word in my world)
Recipe Rundown
Here are the steps to making The Best Banana Pudding:
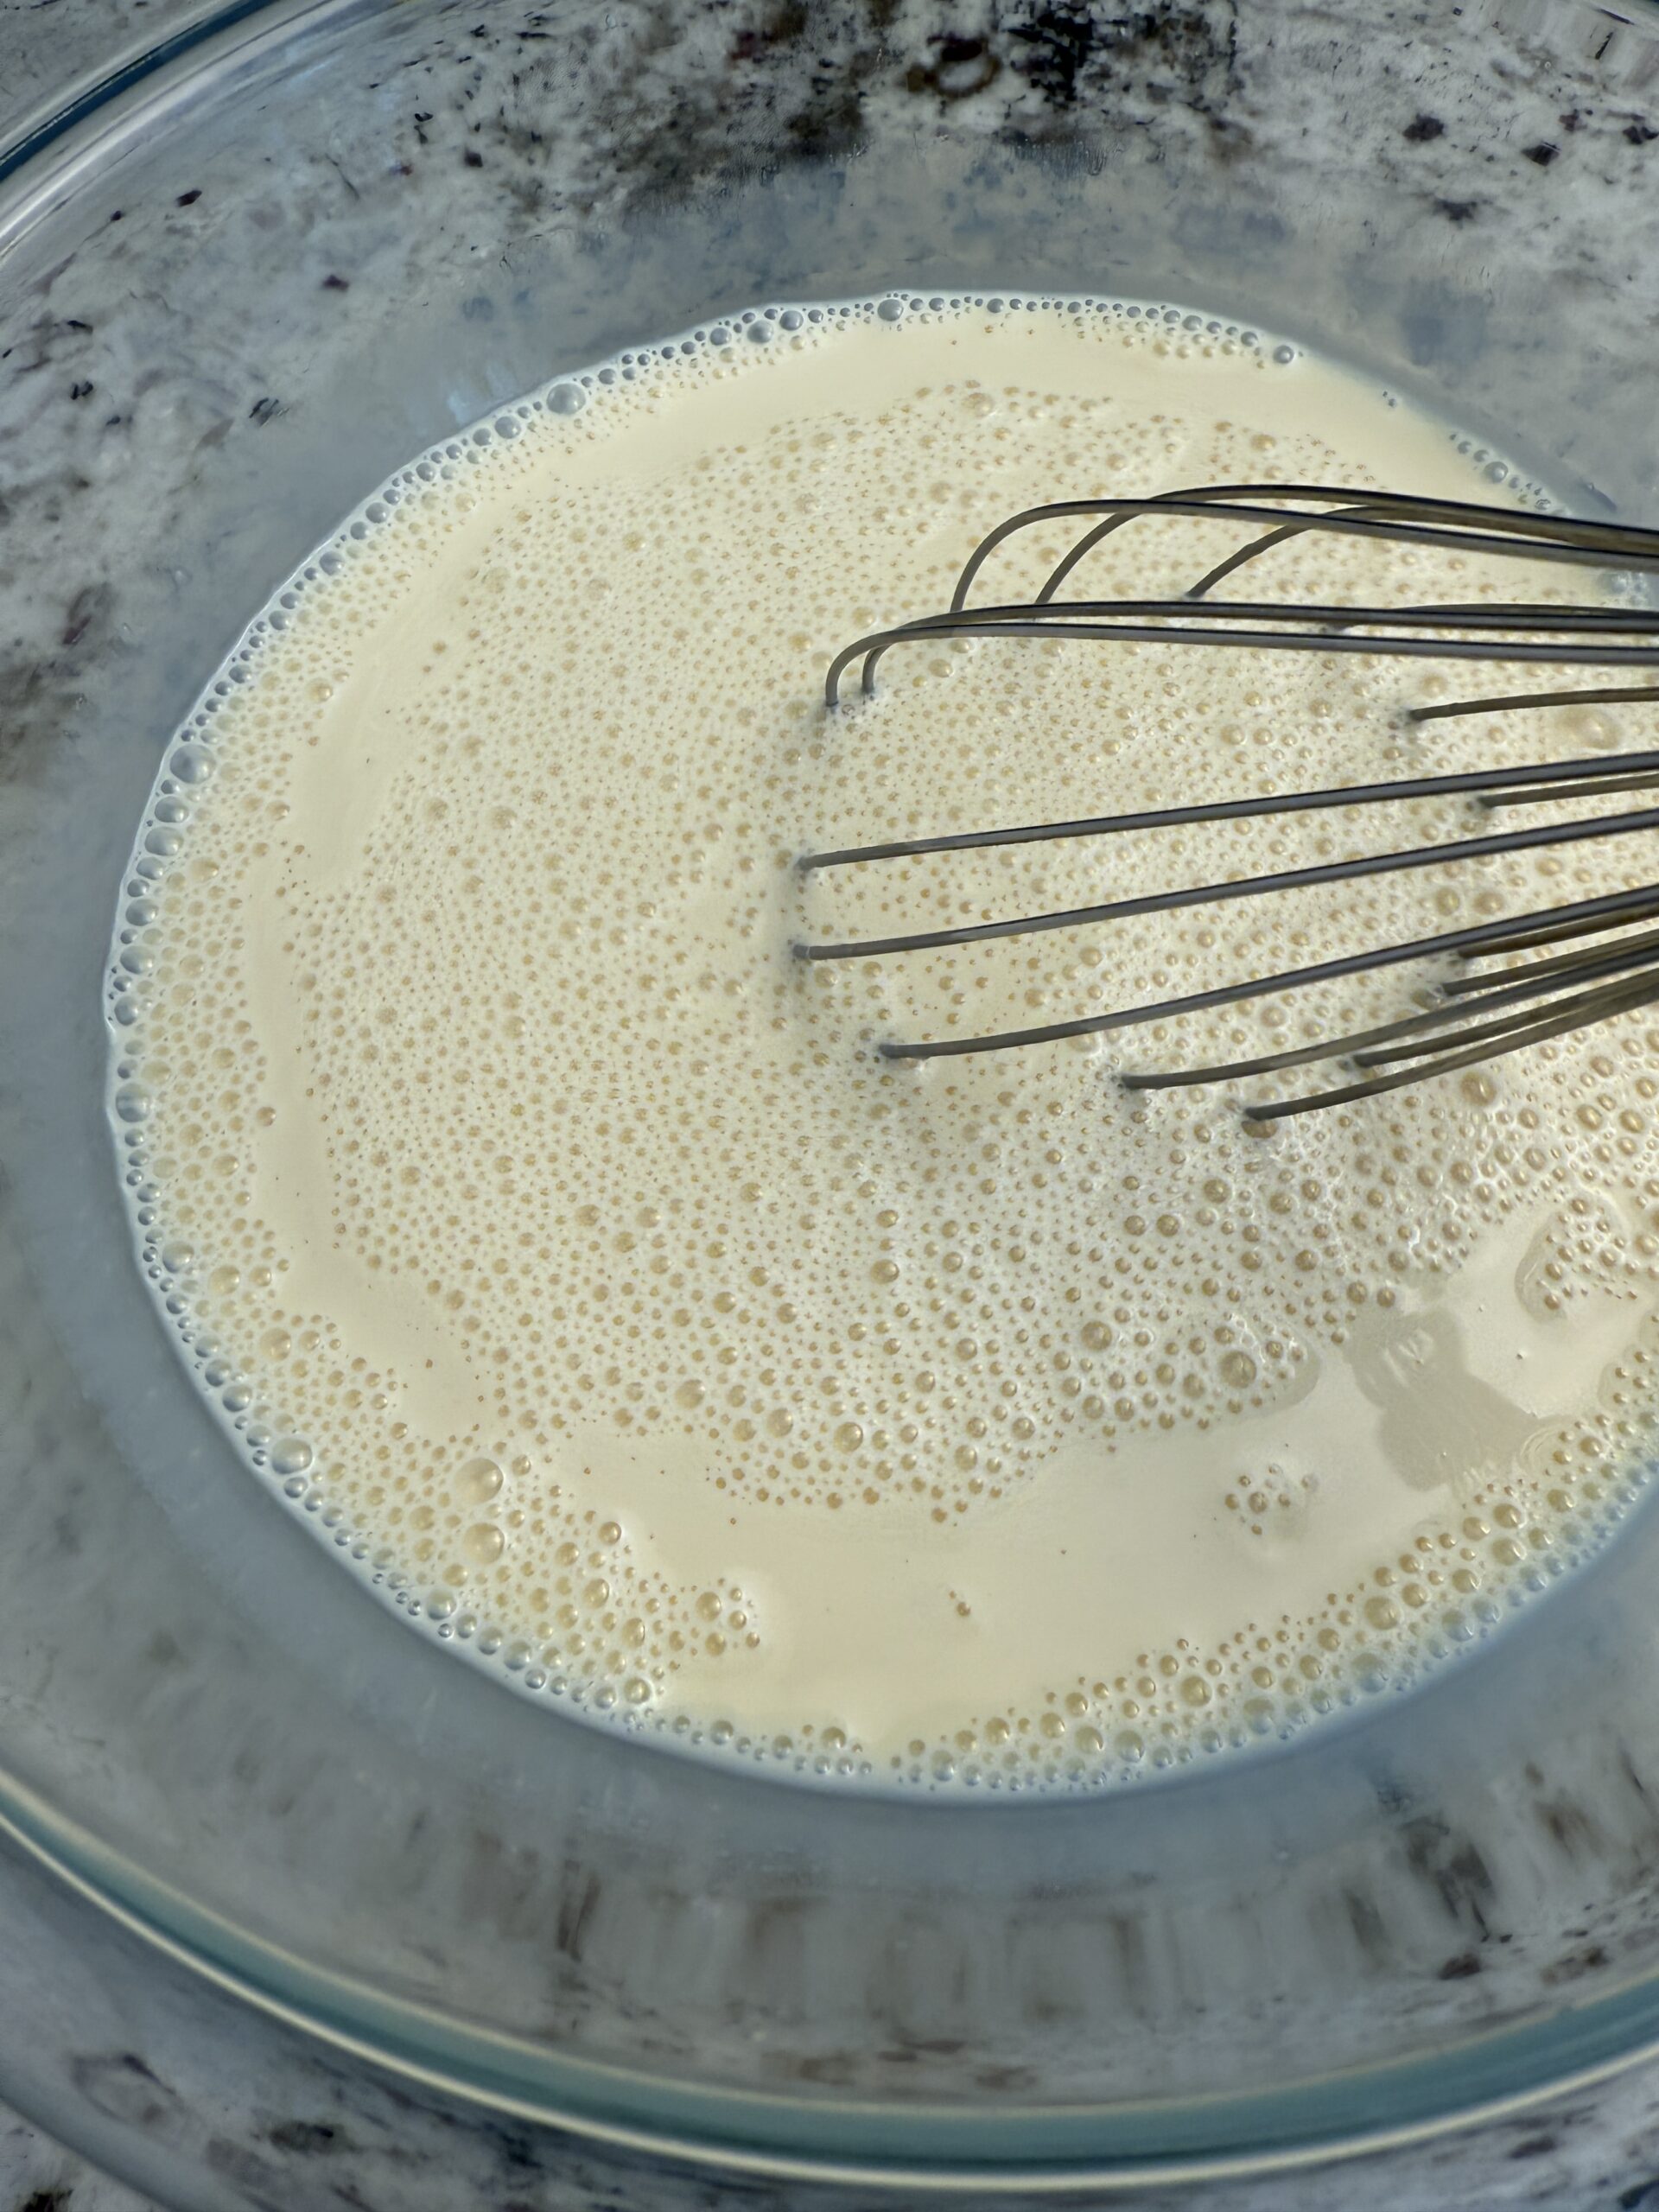
Step 1: To a bowl add 2 cups milk, 1 14 oz can condensed milk, and 1 Tbs vanilla extract and mix until completely combined, about 2 minutes
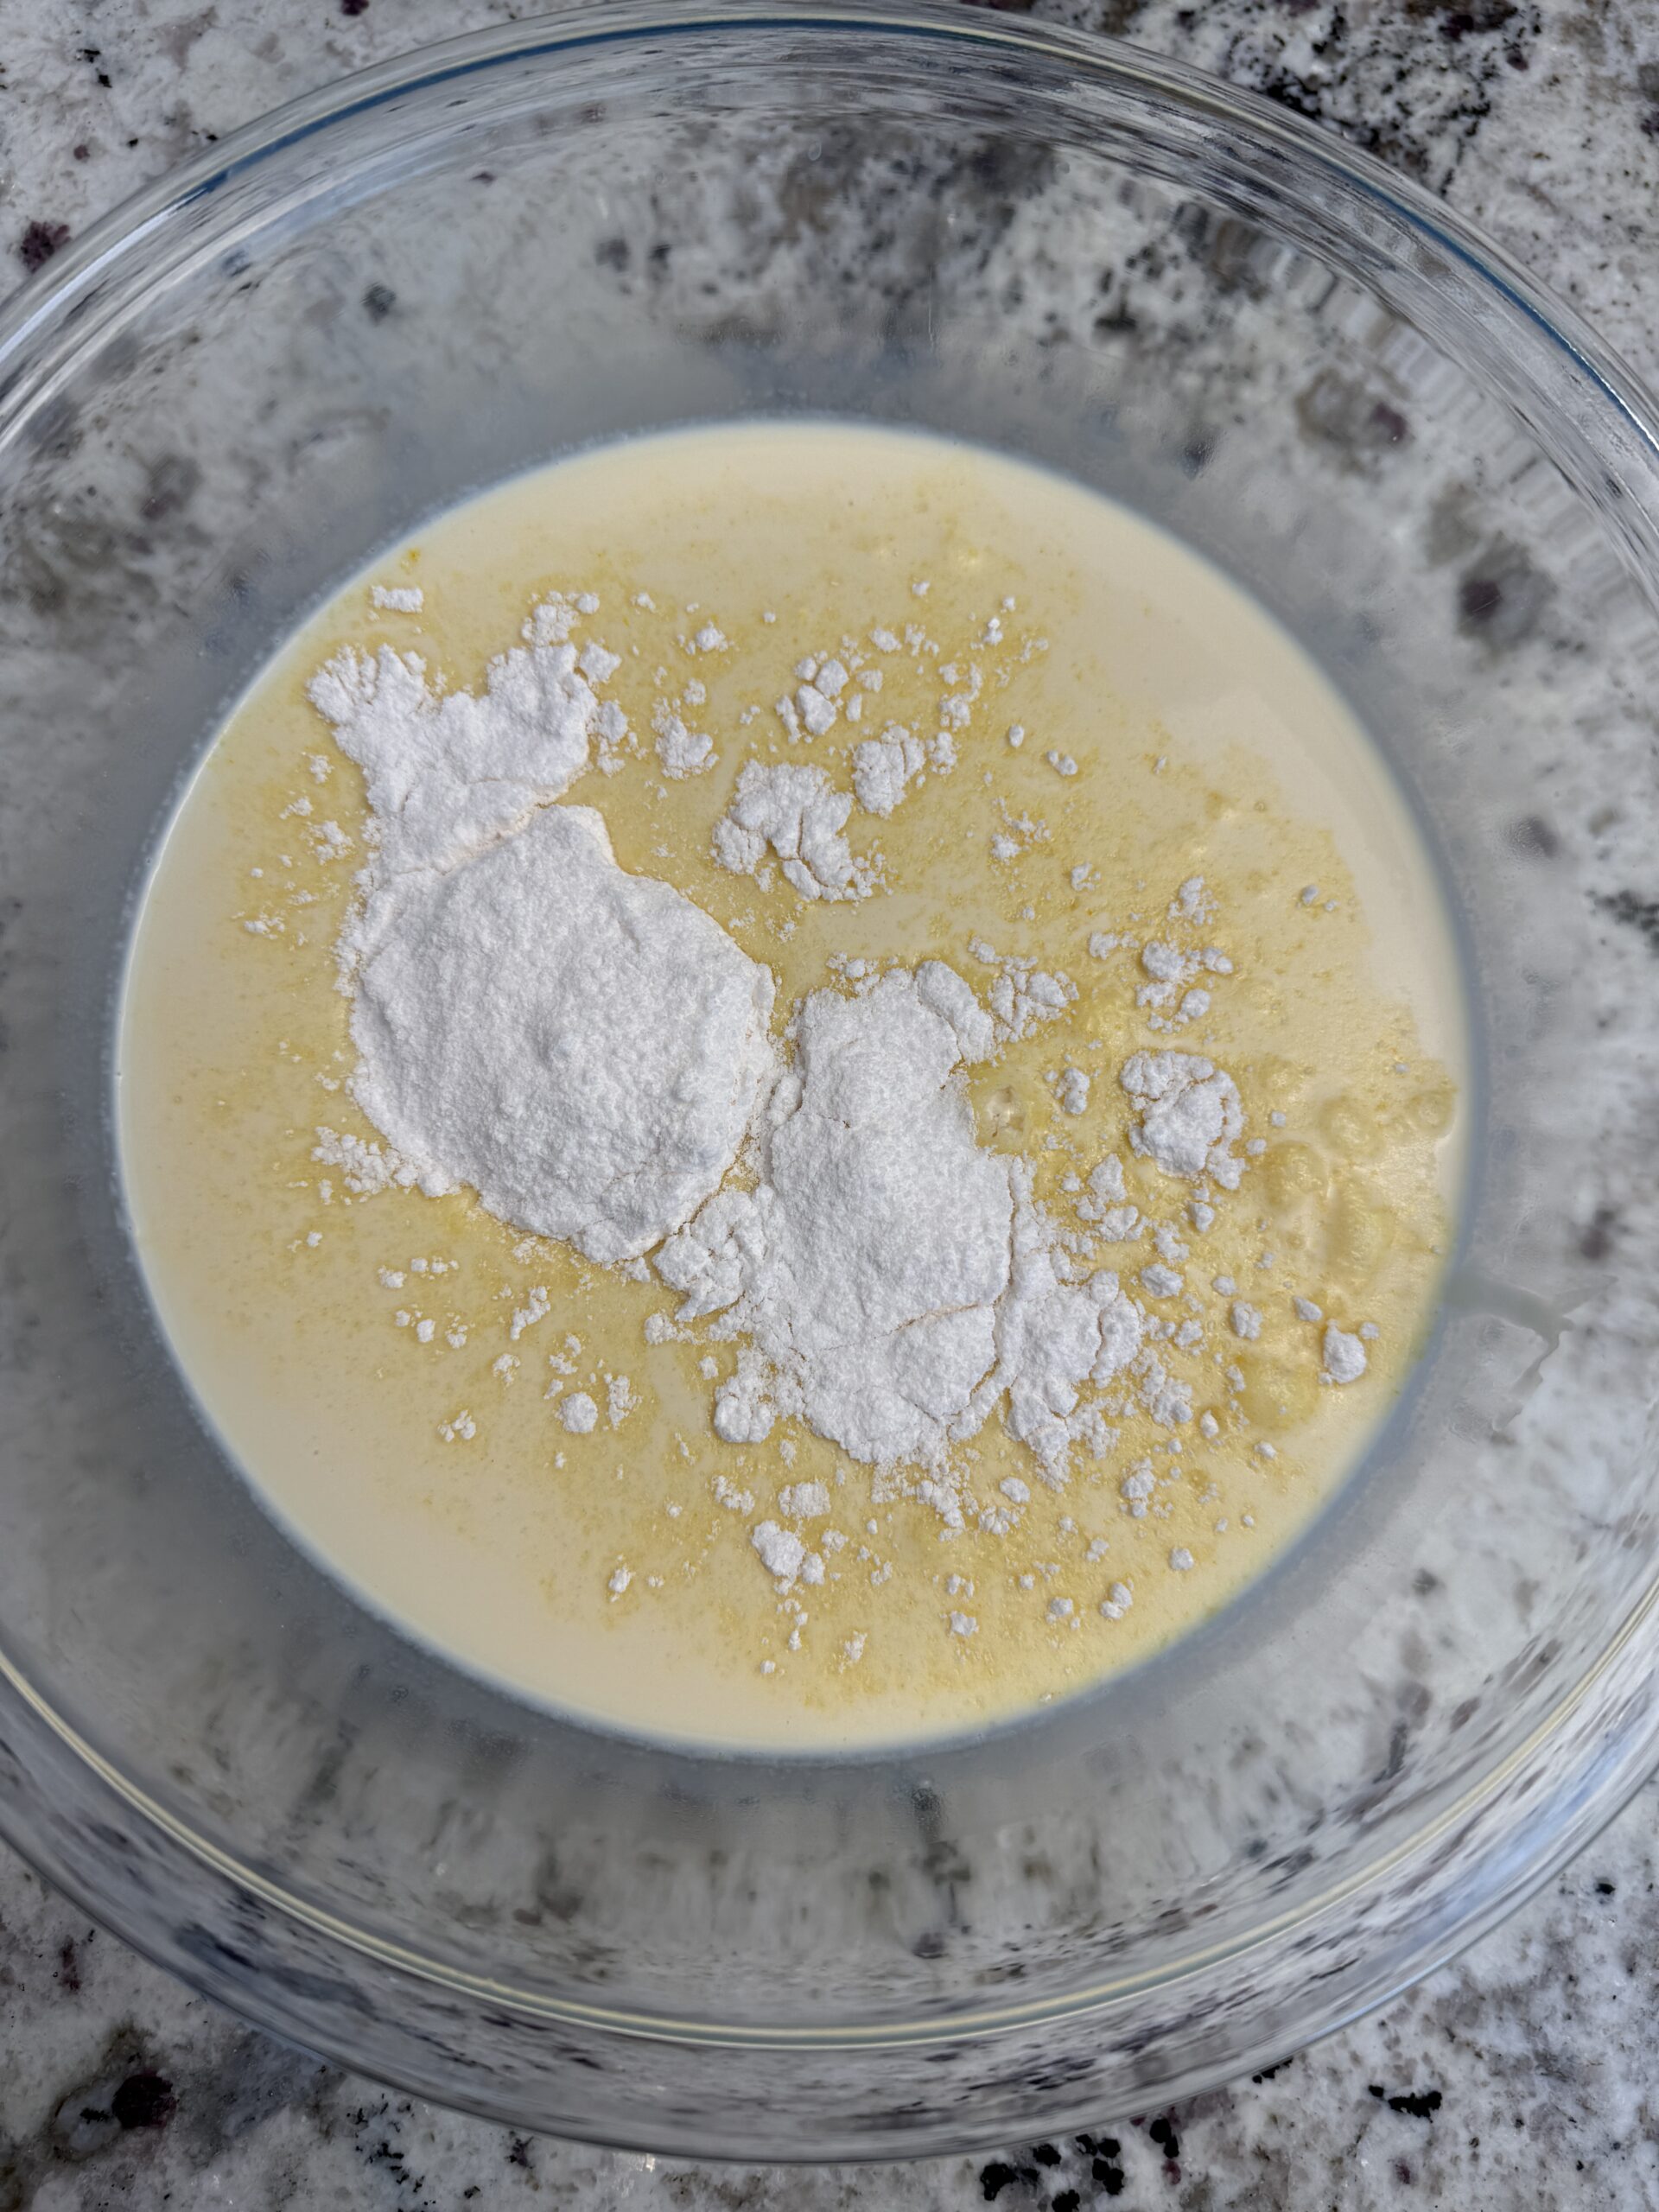
Step 2: Pour the pudding packet into the milk mixture and mix together quickly until combined. Pudding will set fast so be prepared to mix as soon as you pour in the packet.
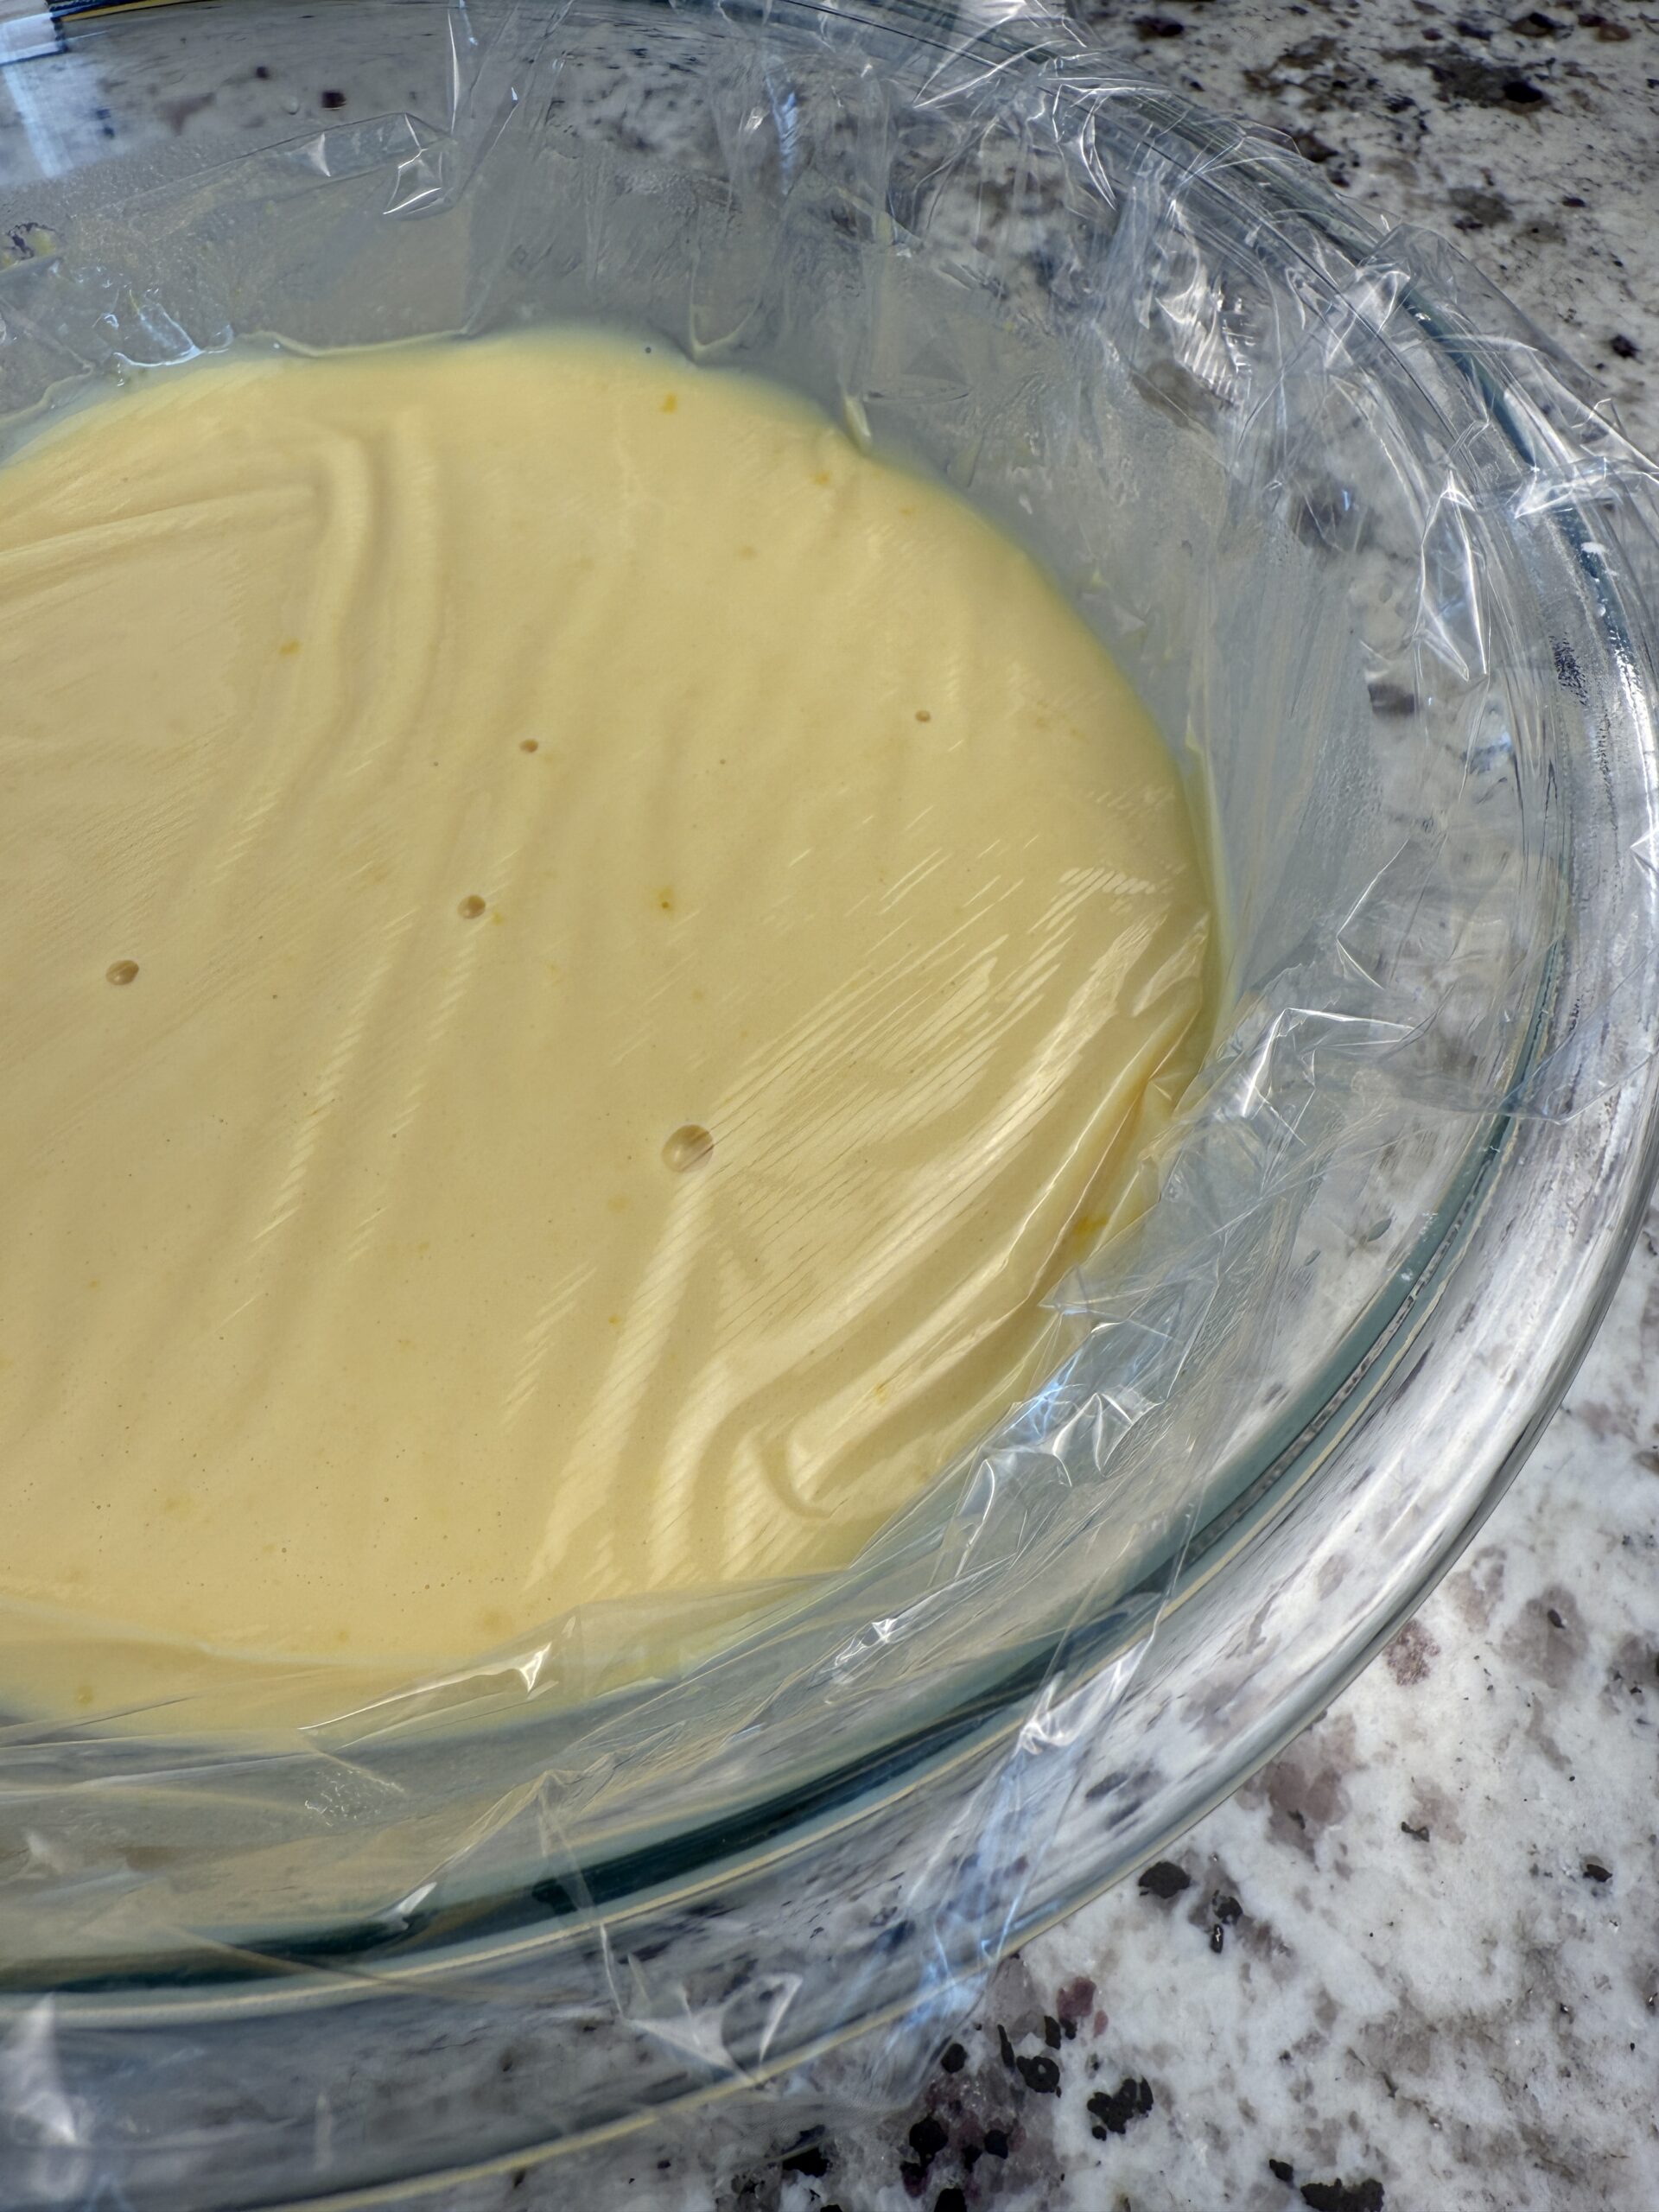
Step 3: Cover bowl with plastic wrap with the wrap touching the pudding, put into the refrigerator for about 30 minutes or until pudding is set.
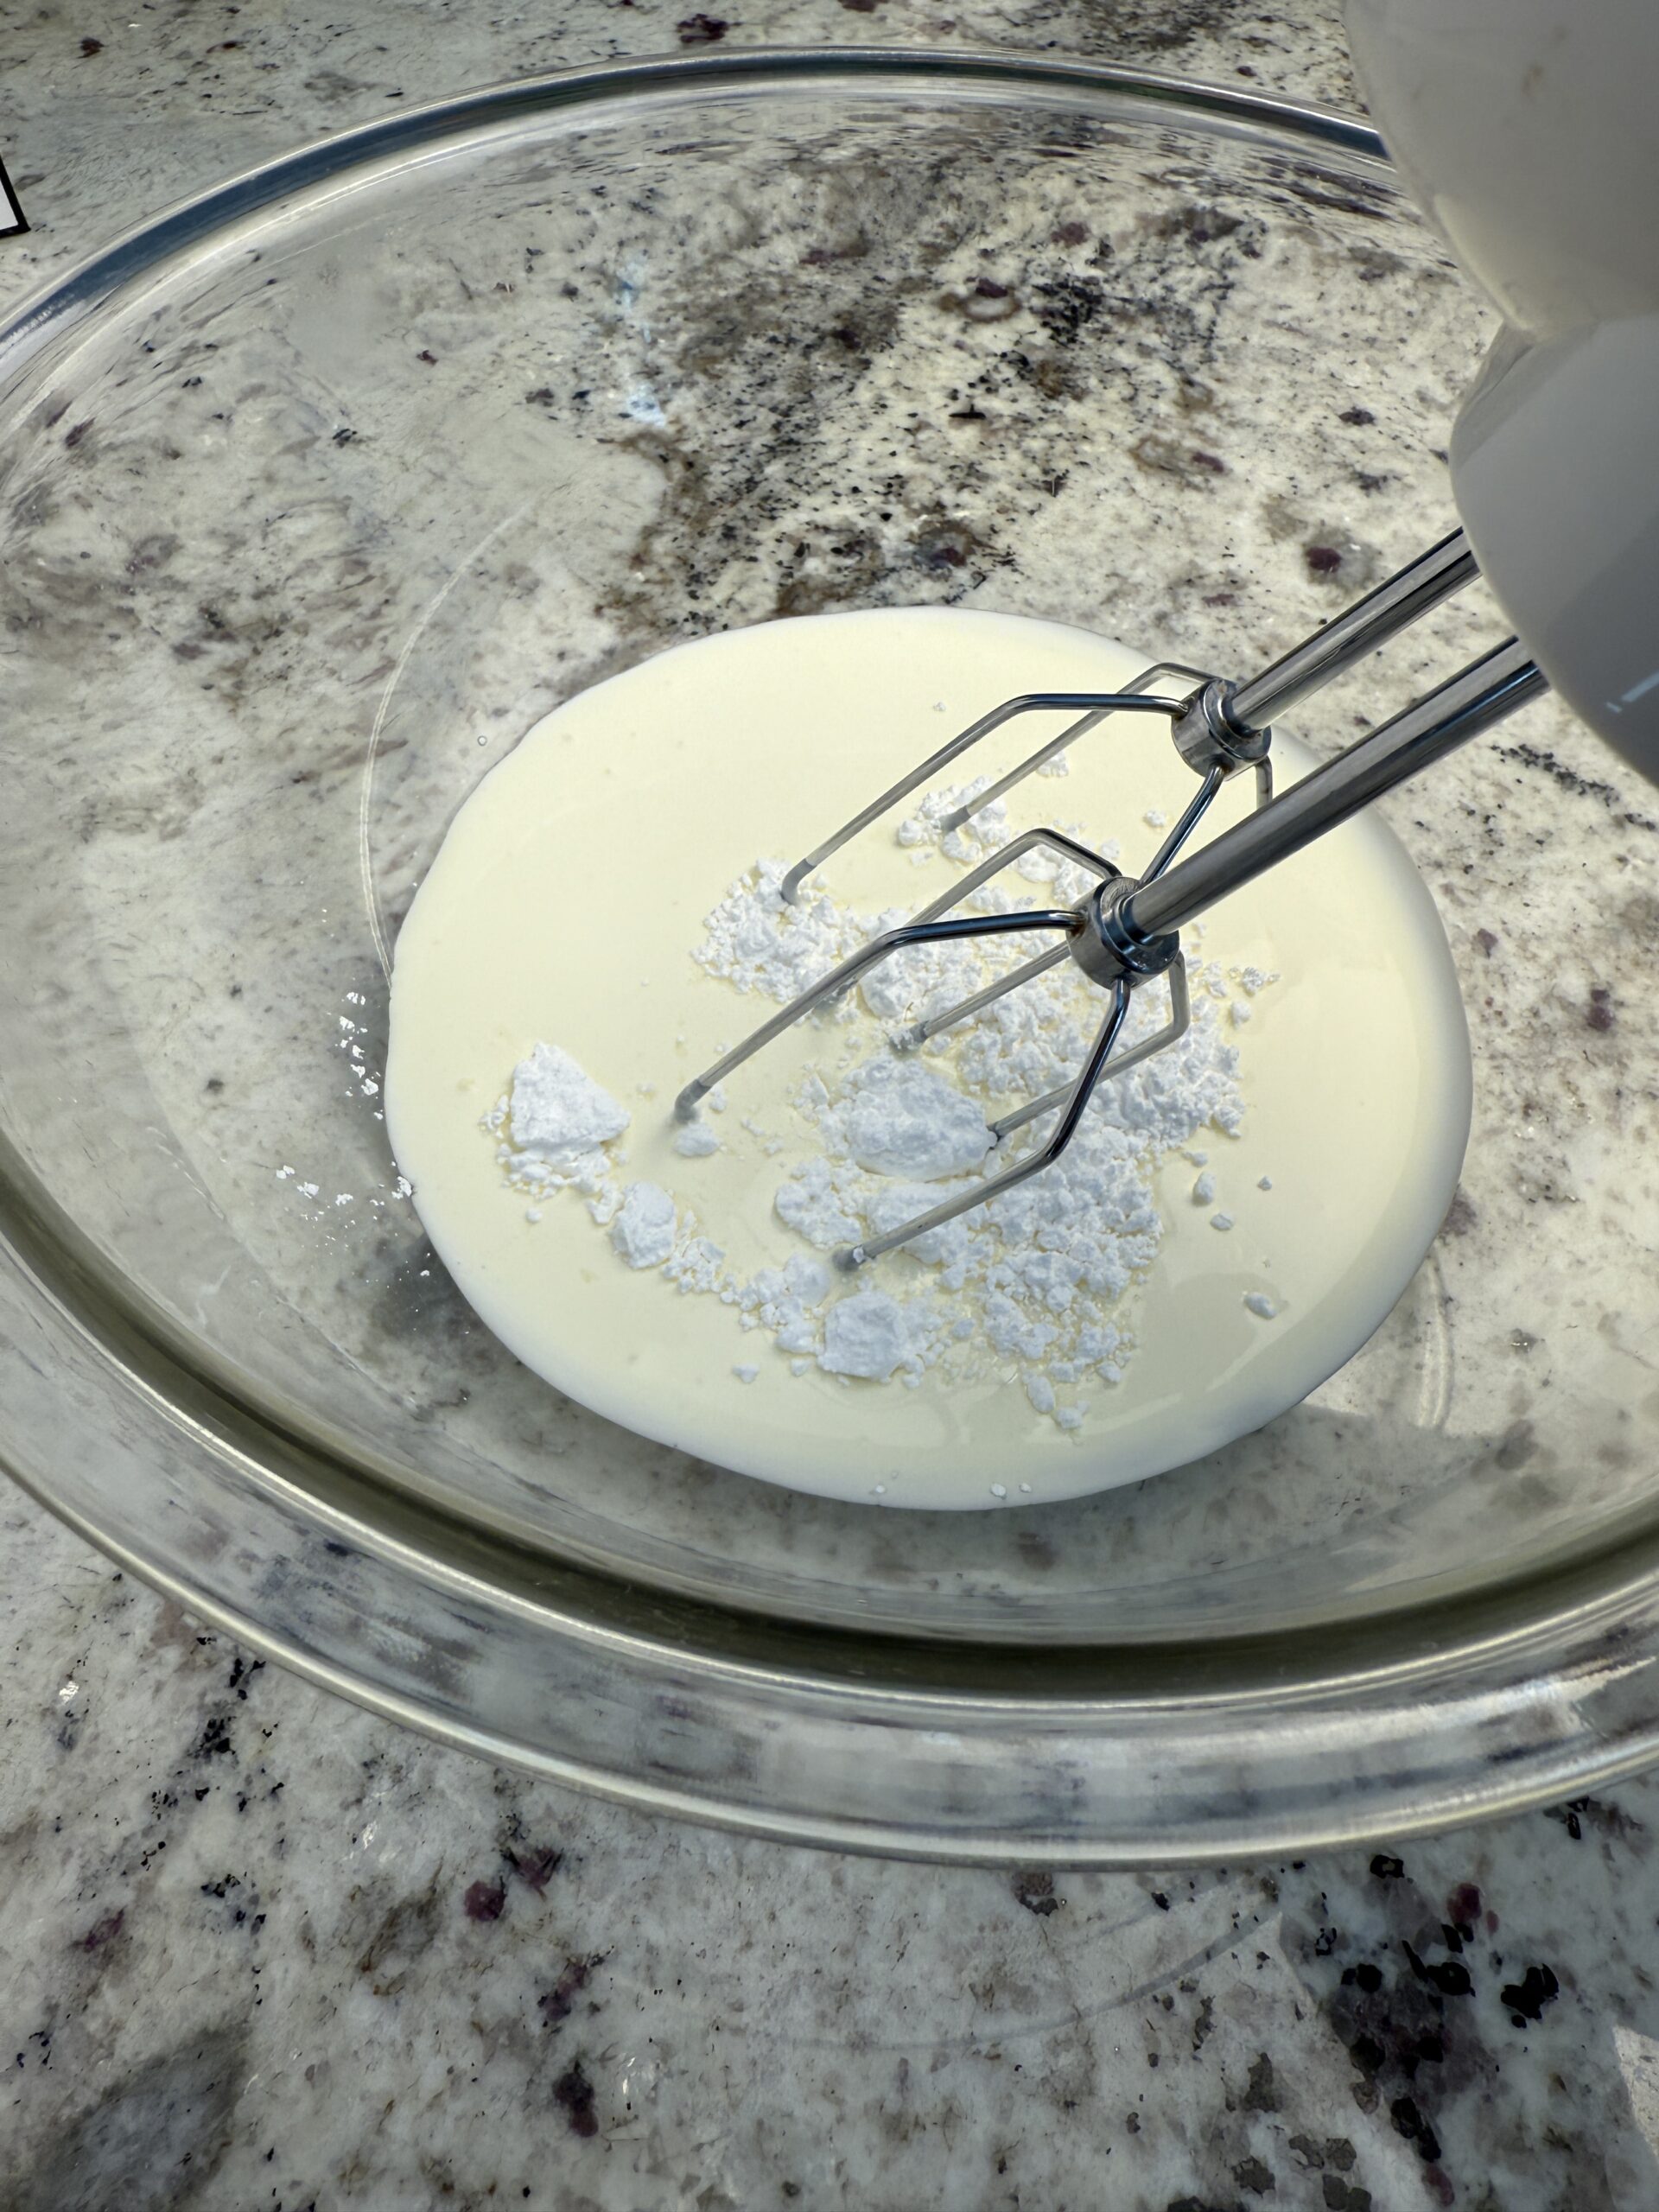
Step 4: Once pudding has set start on the whipped cream. If using a handheld mixer or whisk add 1 cup heavy cream and 1 Tbs powdered sugar to a medium to large bowl. If using stand mixer add to mixer bowl. Make sure cream is very cold.
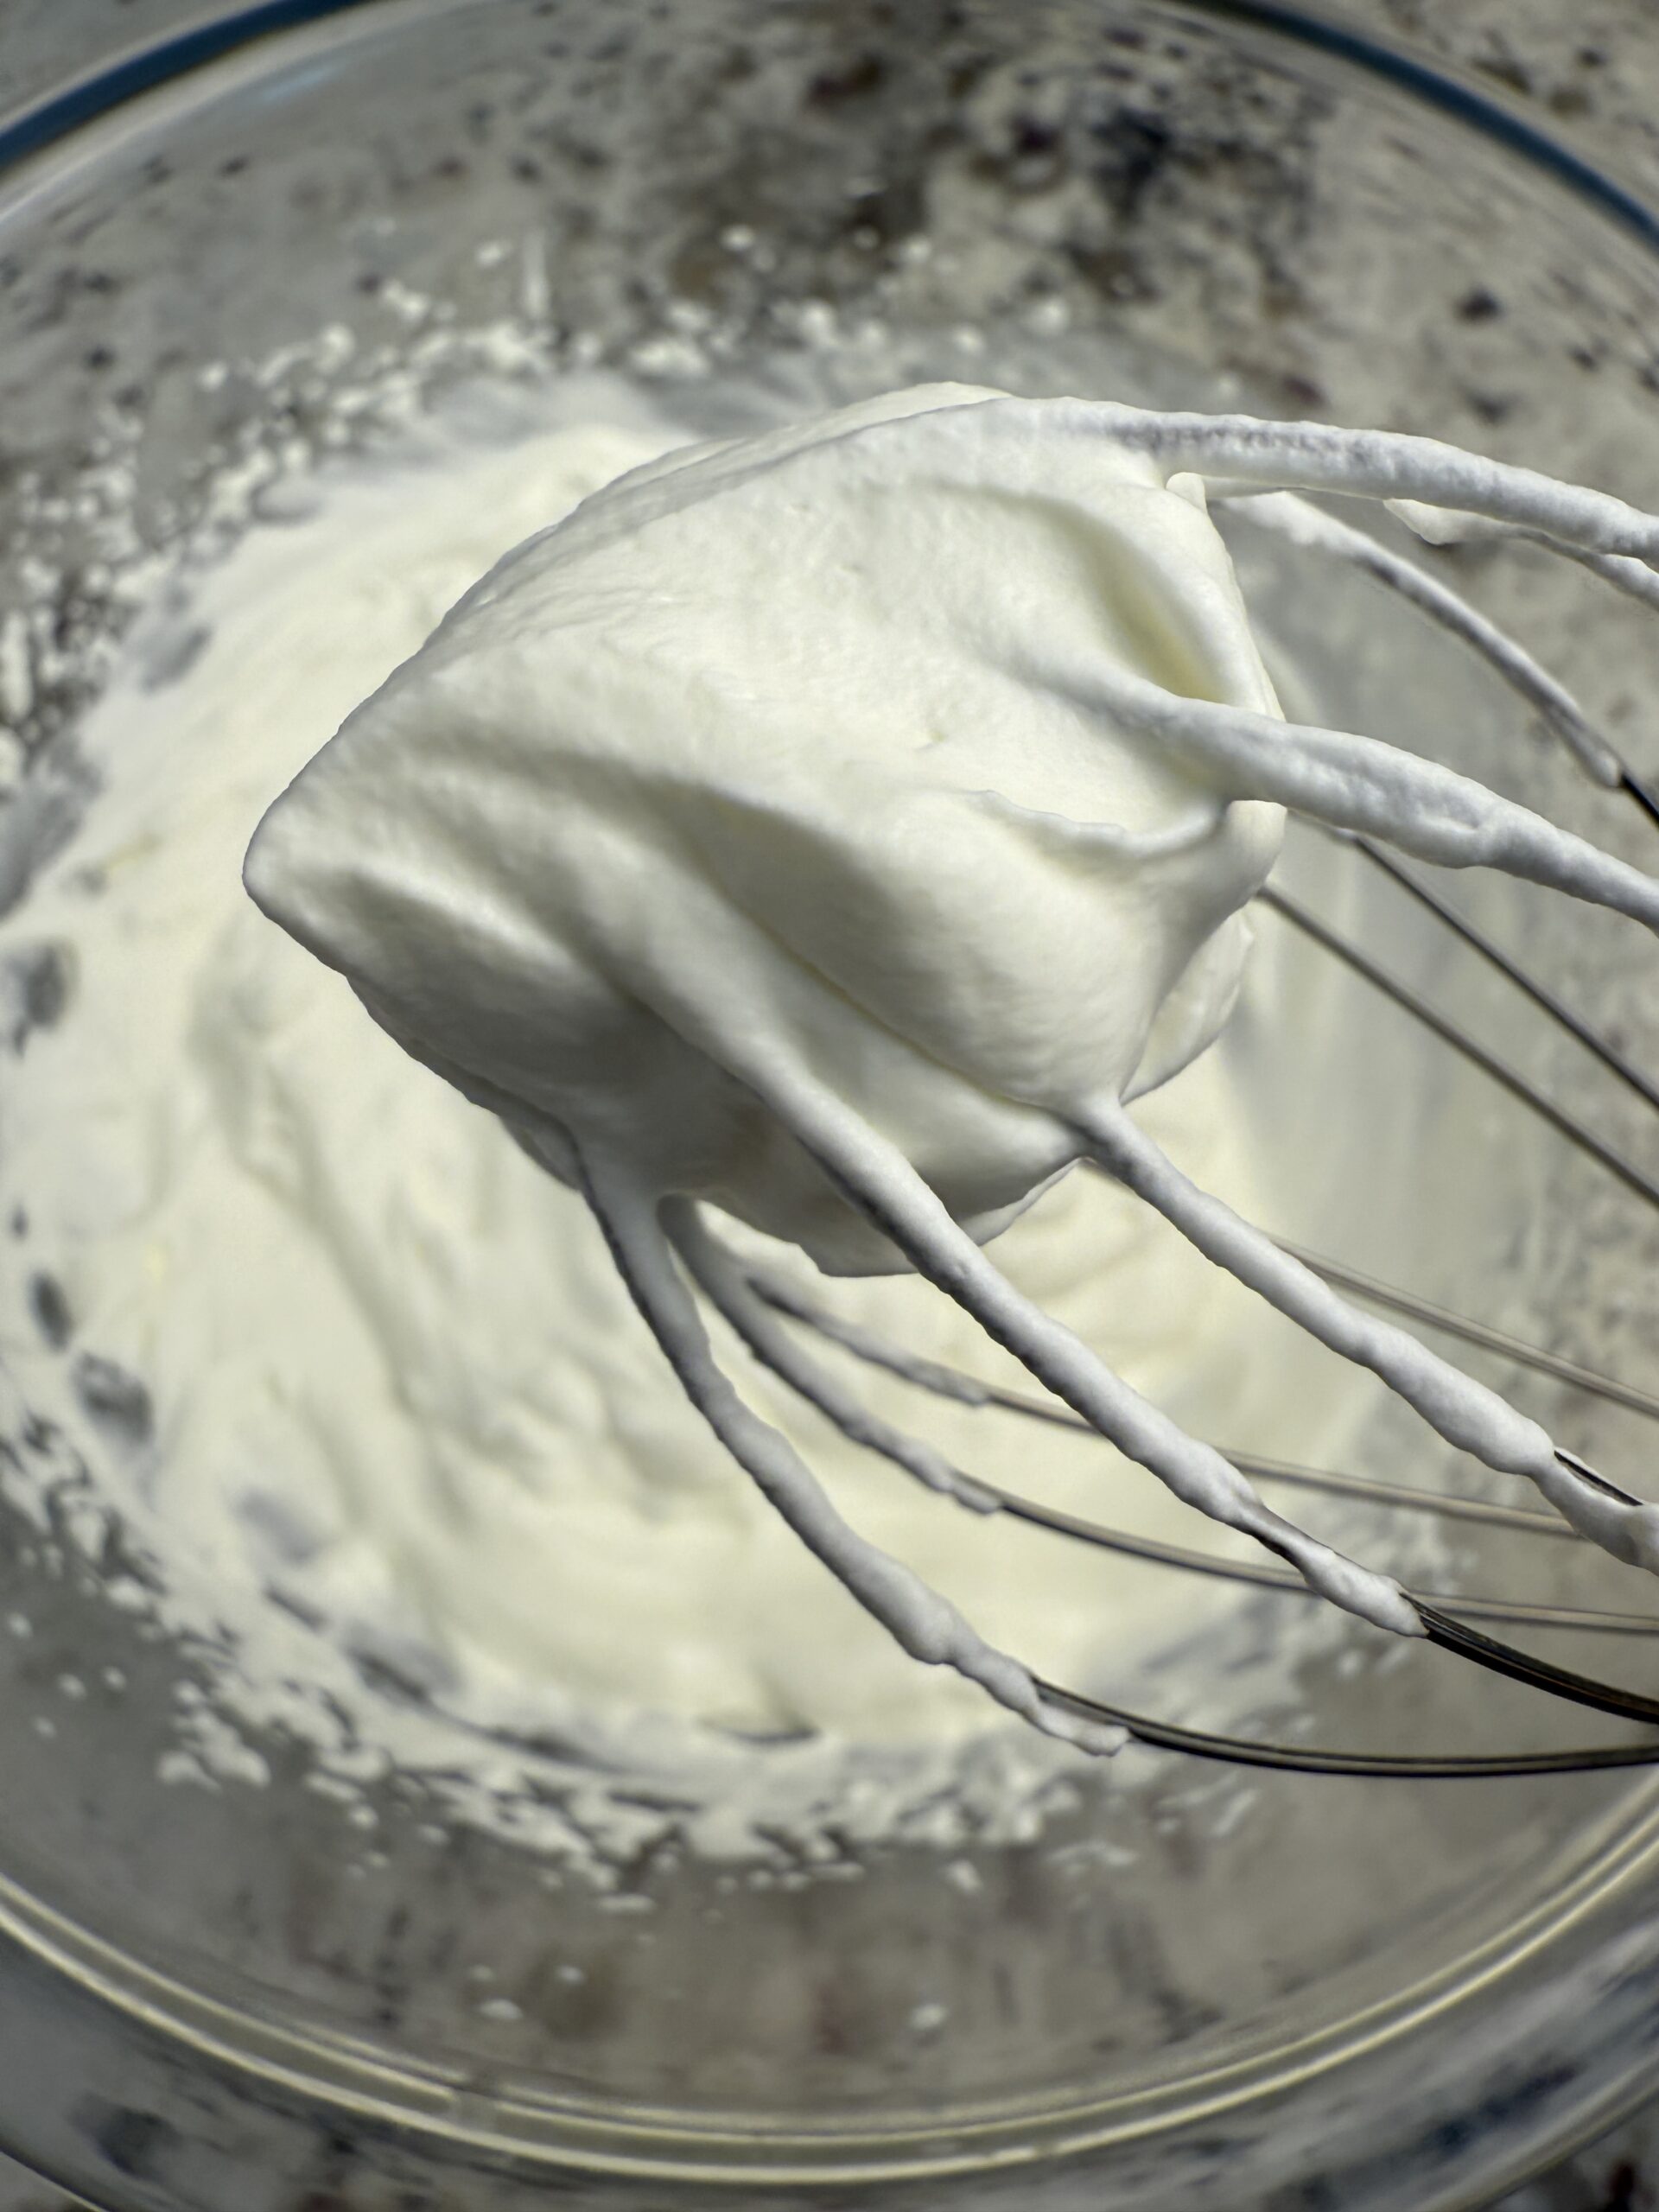
Step 5: Using a handheld mixer, whisk, or stand mixer with whisk attachment, whip cream until stiff peaks form making sure not to overmix or the cream will separate.
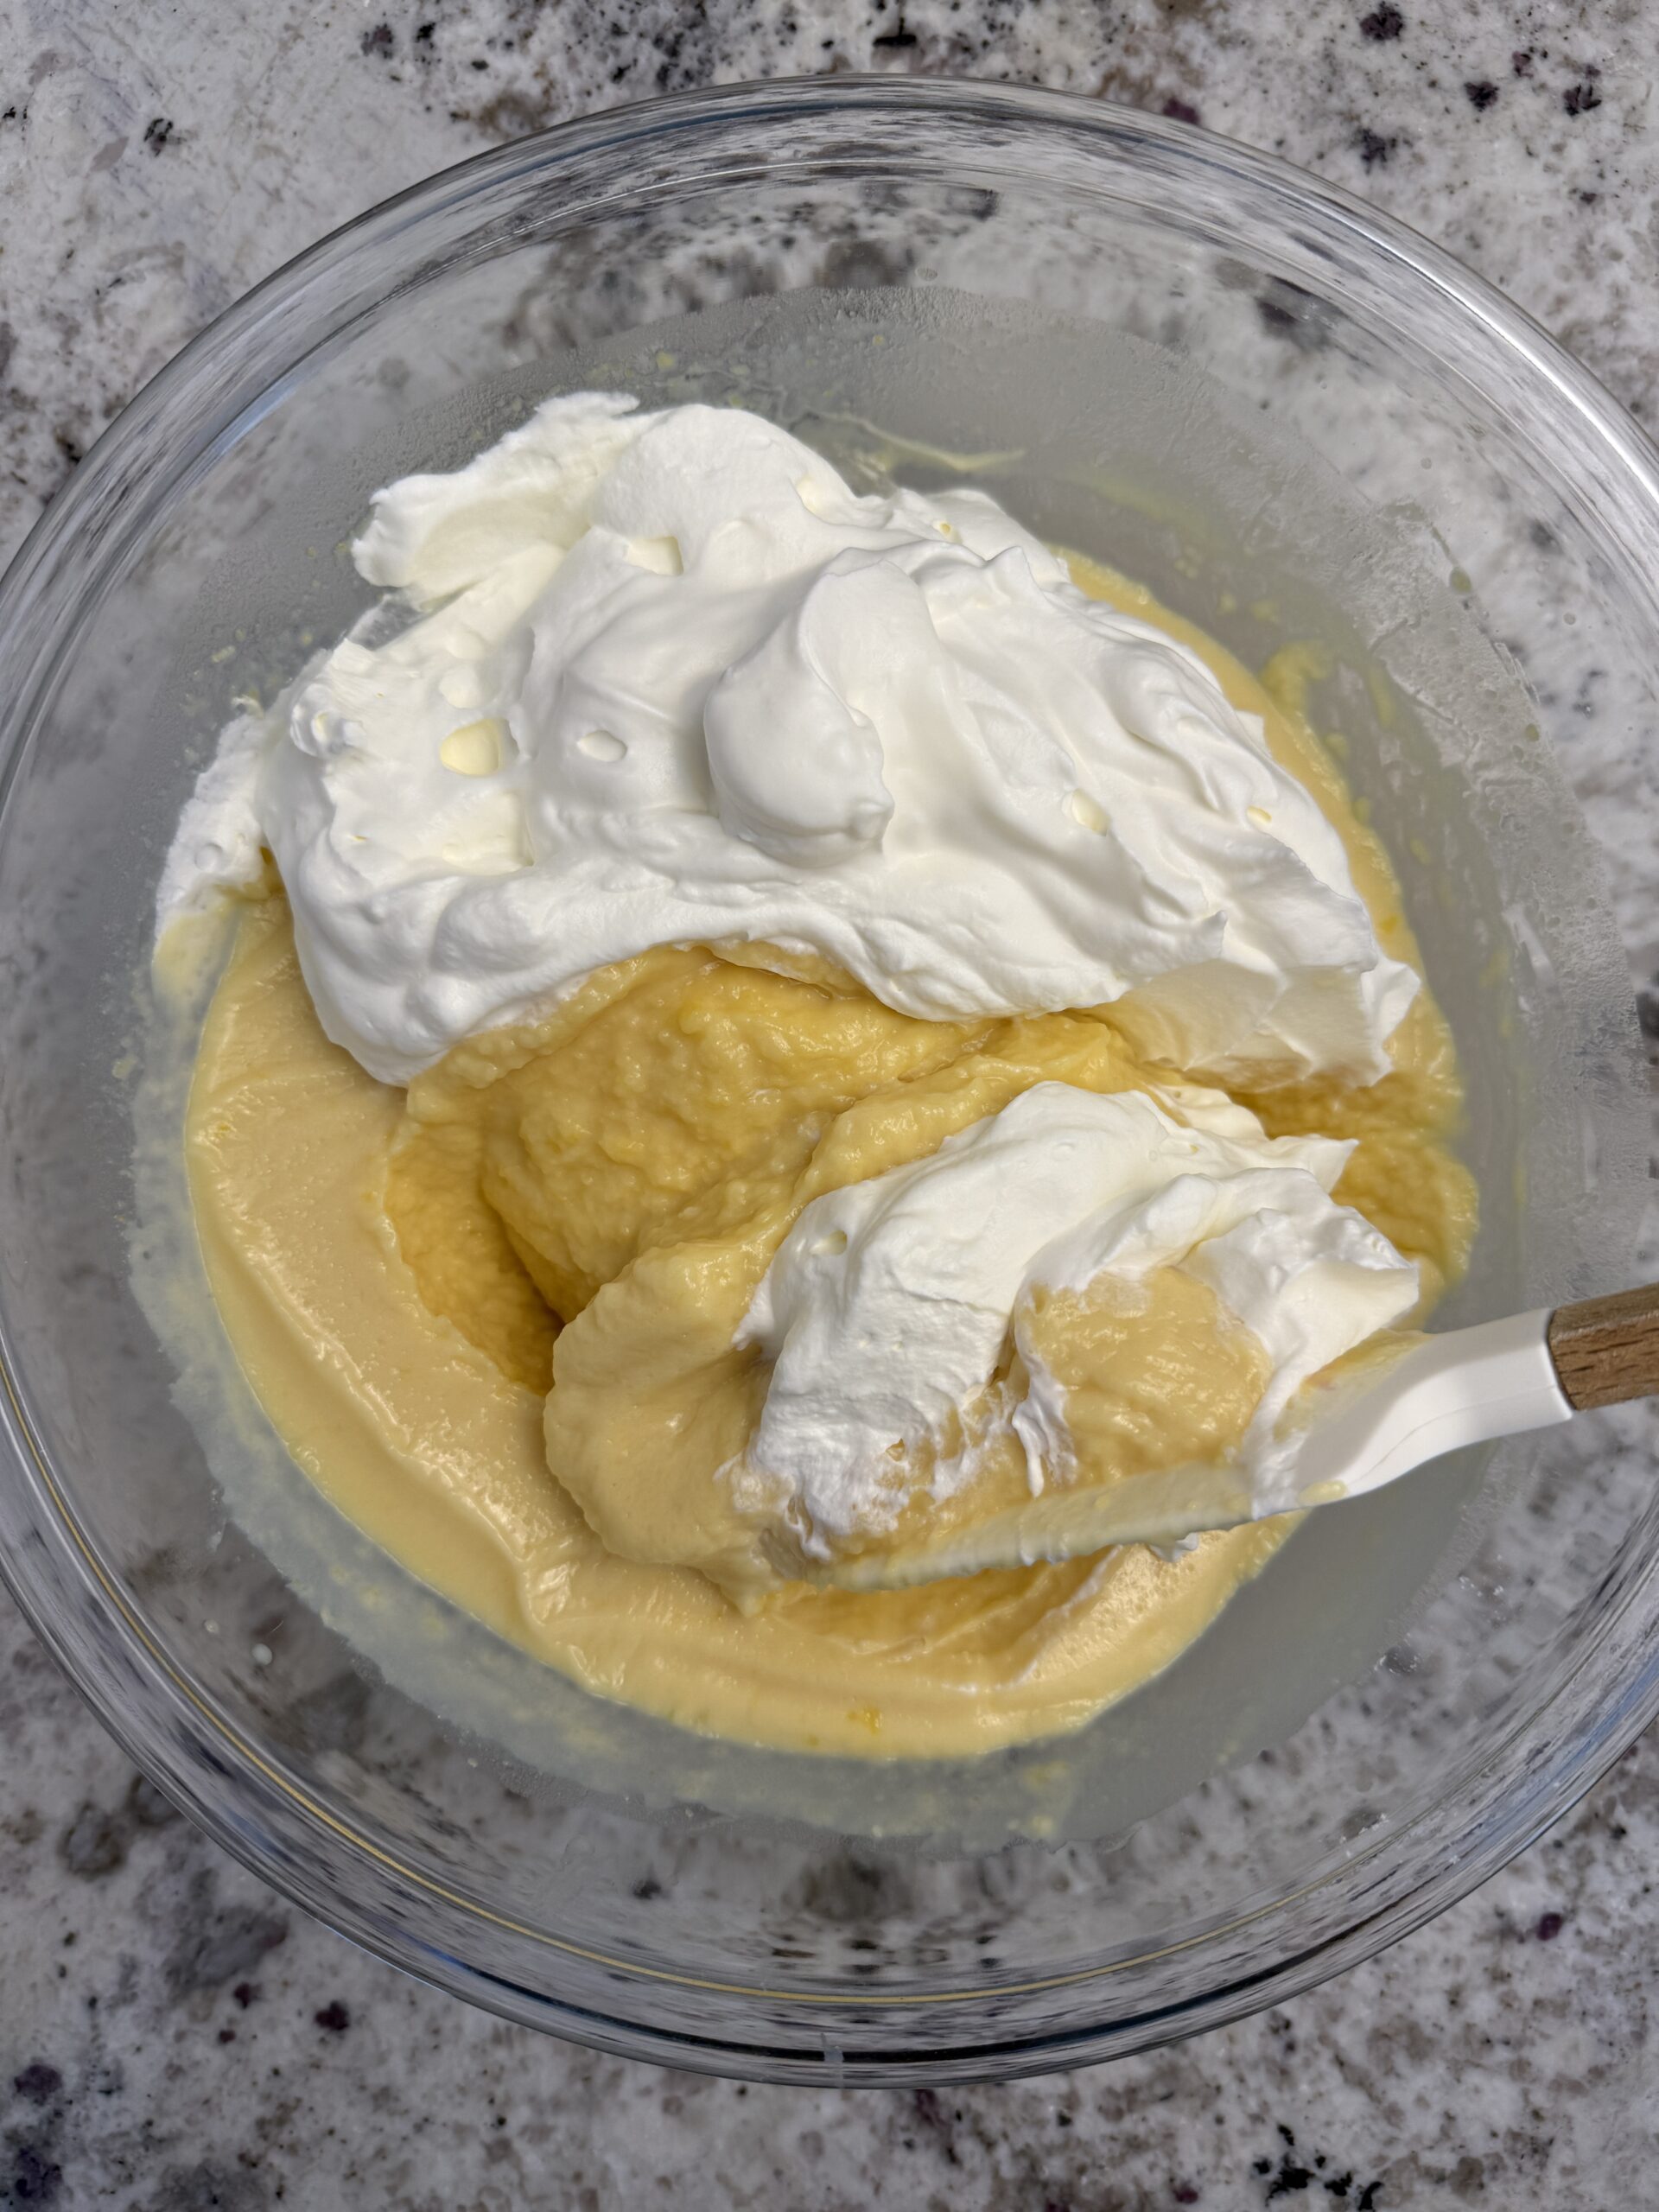
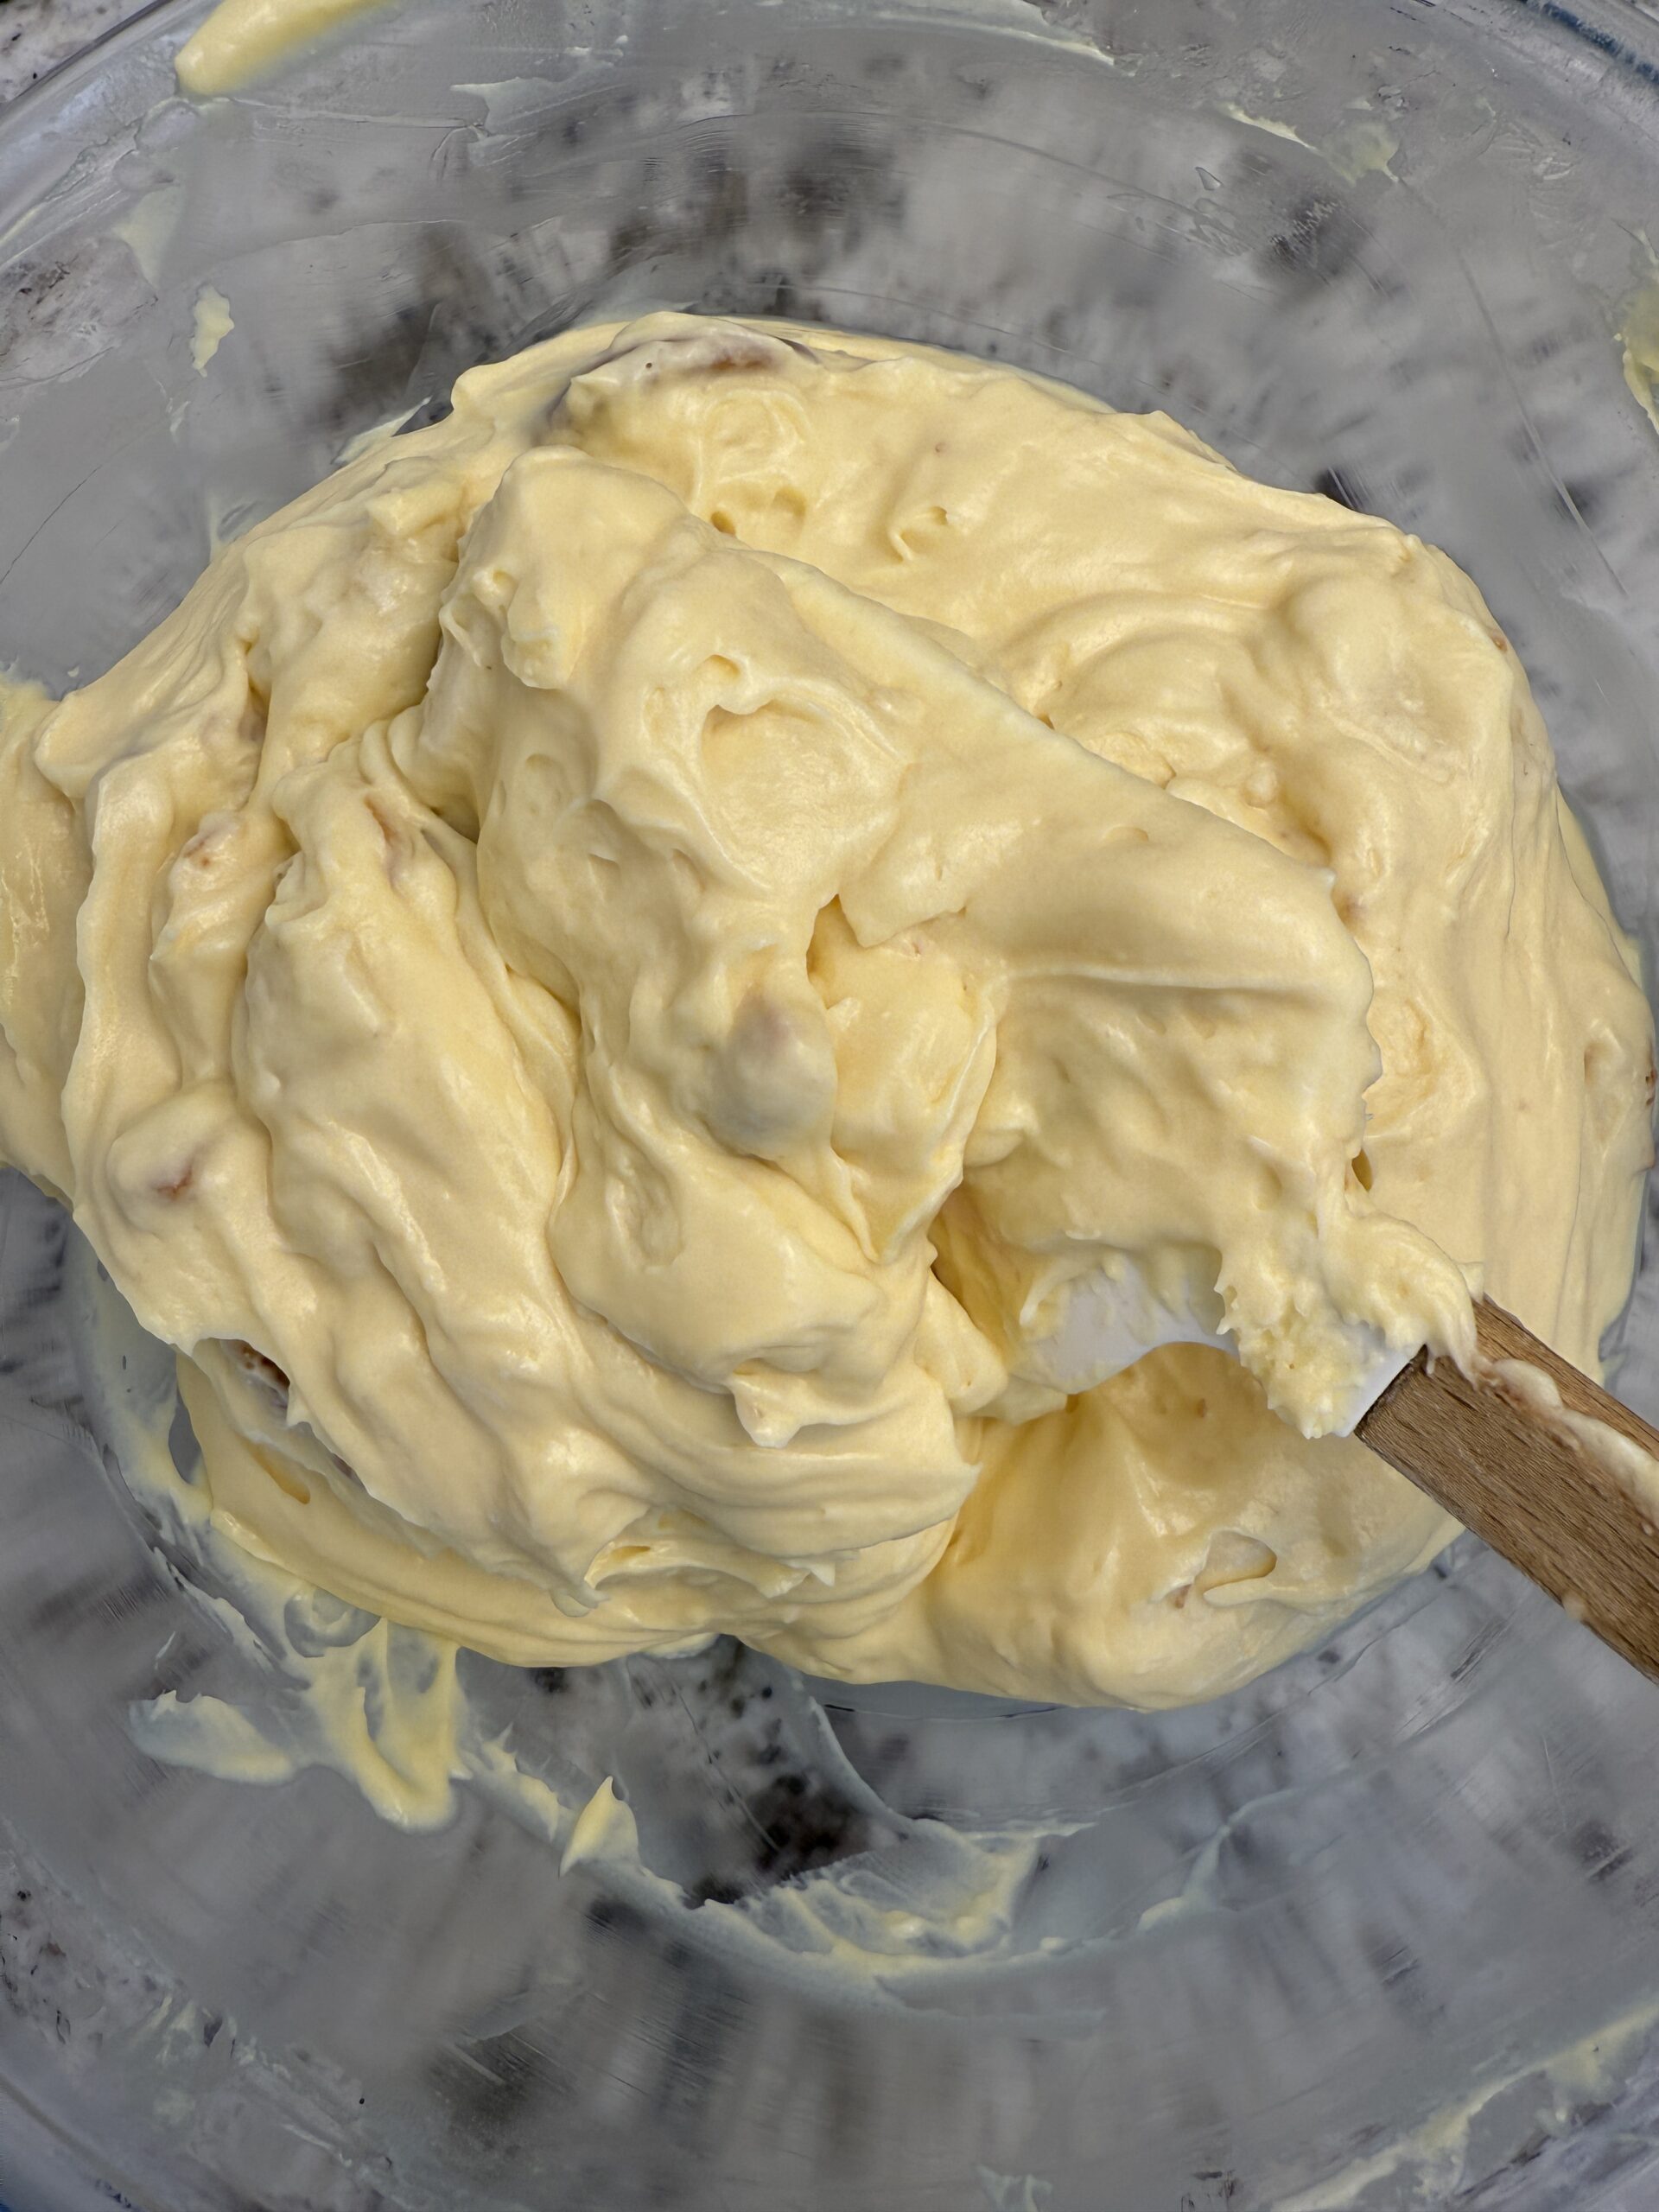
Step 6: Once pudding has set stir in whipped cream using a 'folding in' motion until combined.

6A. Folding is using a circular motion with a spatula to stir without mixing back and forth.
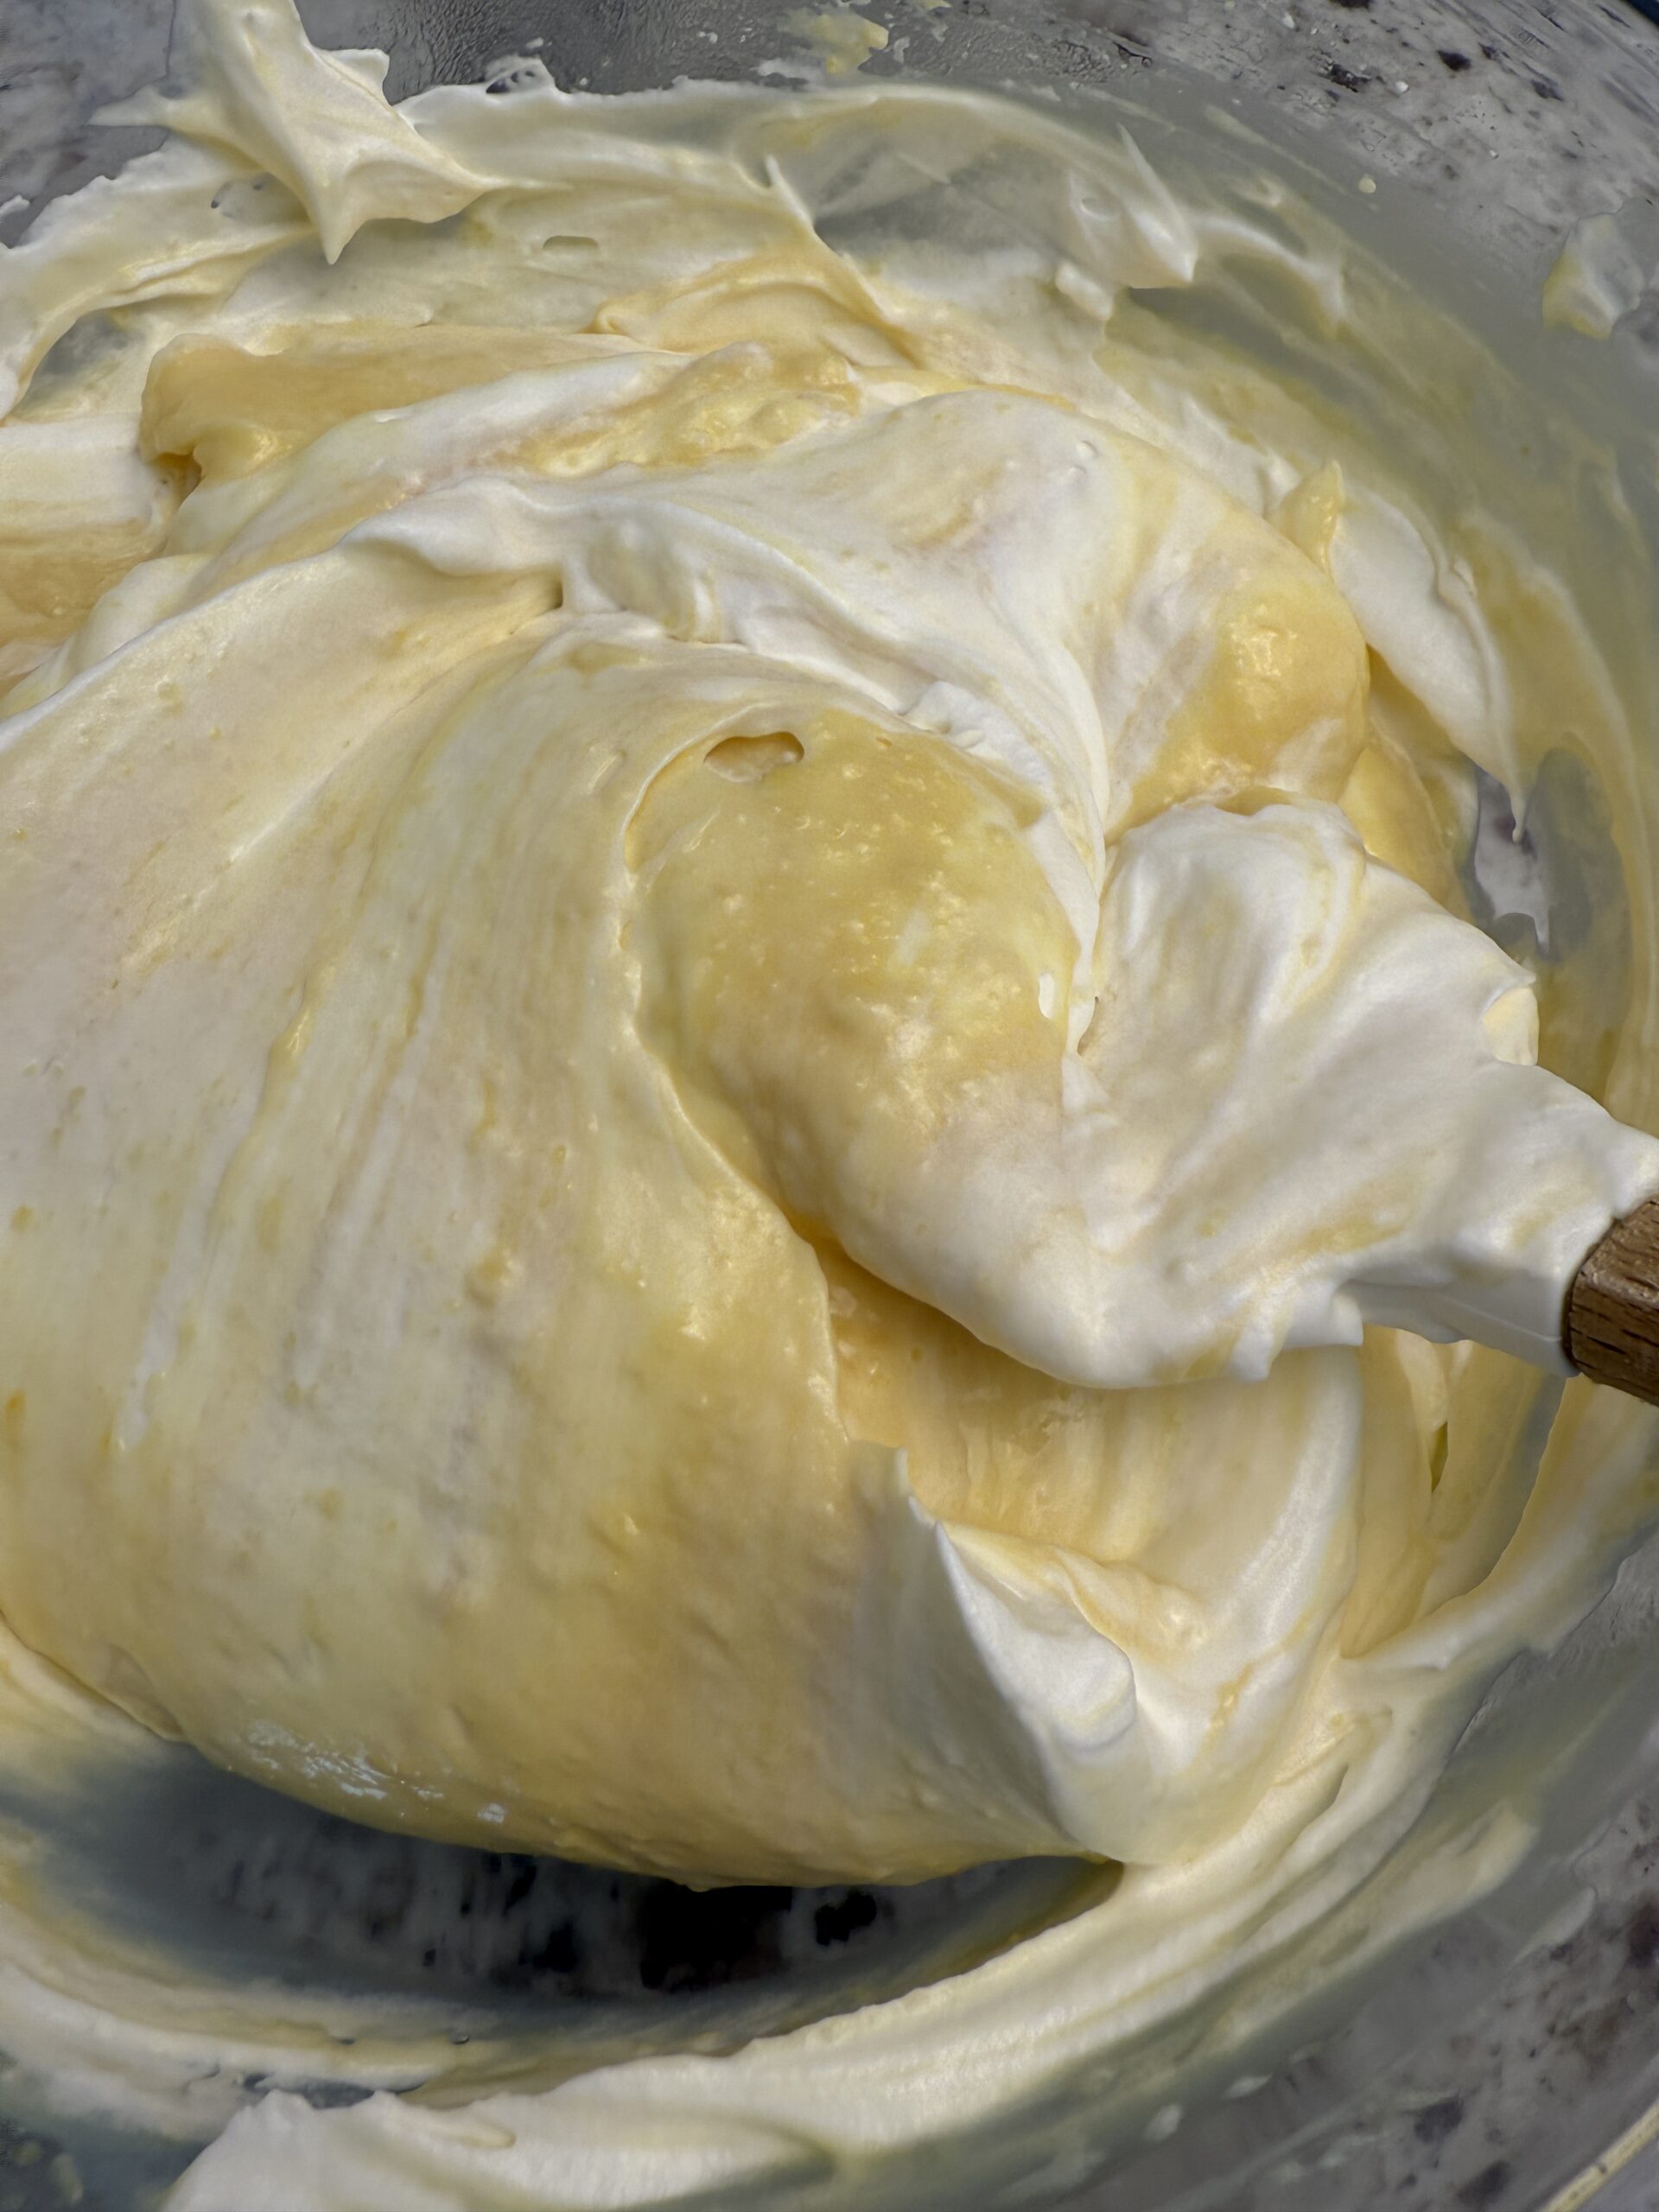
6B. The purpose of folding is to mix in the whipped cream without letting it deflate too much.
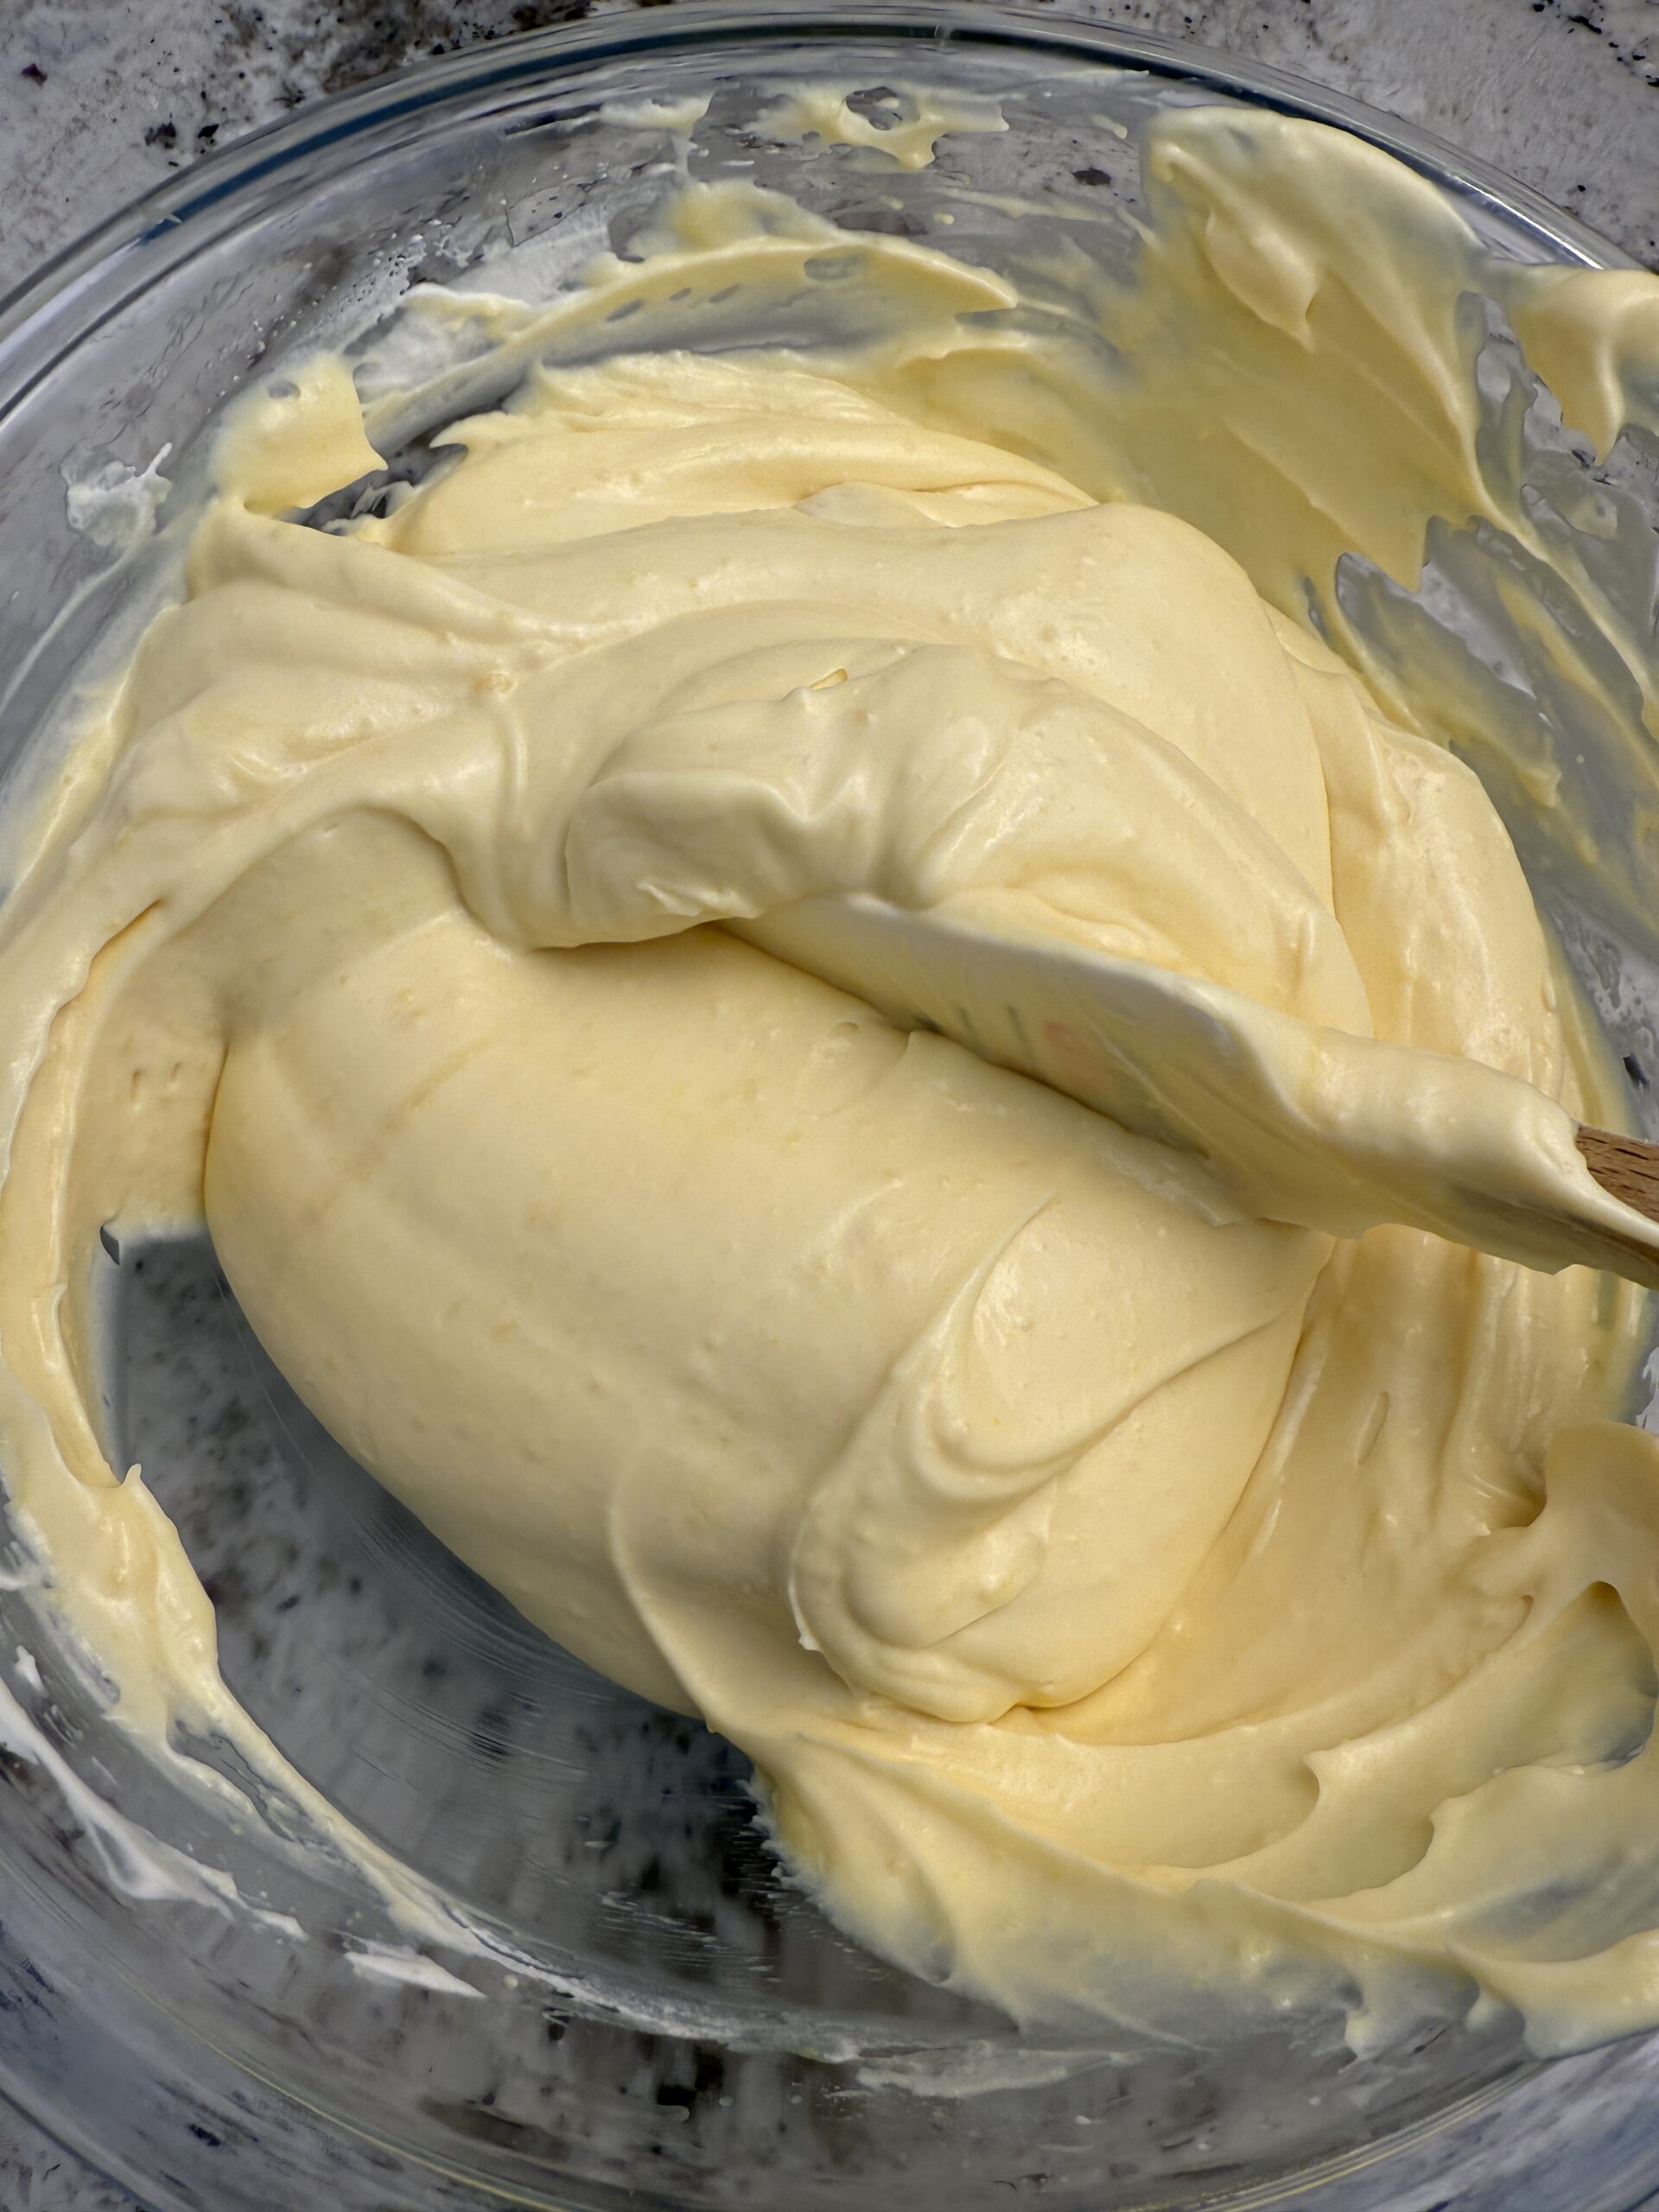
6C. Be gentle! Once you see very few streaks you are done folding in!
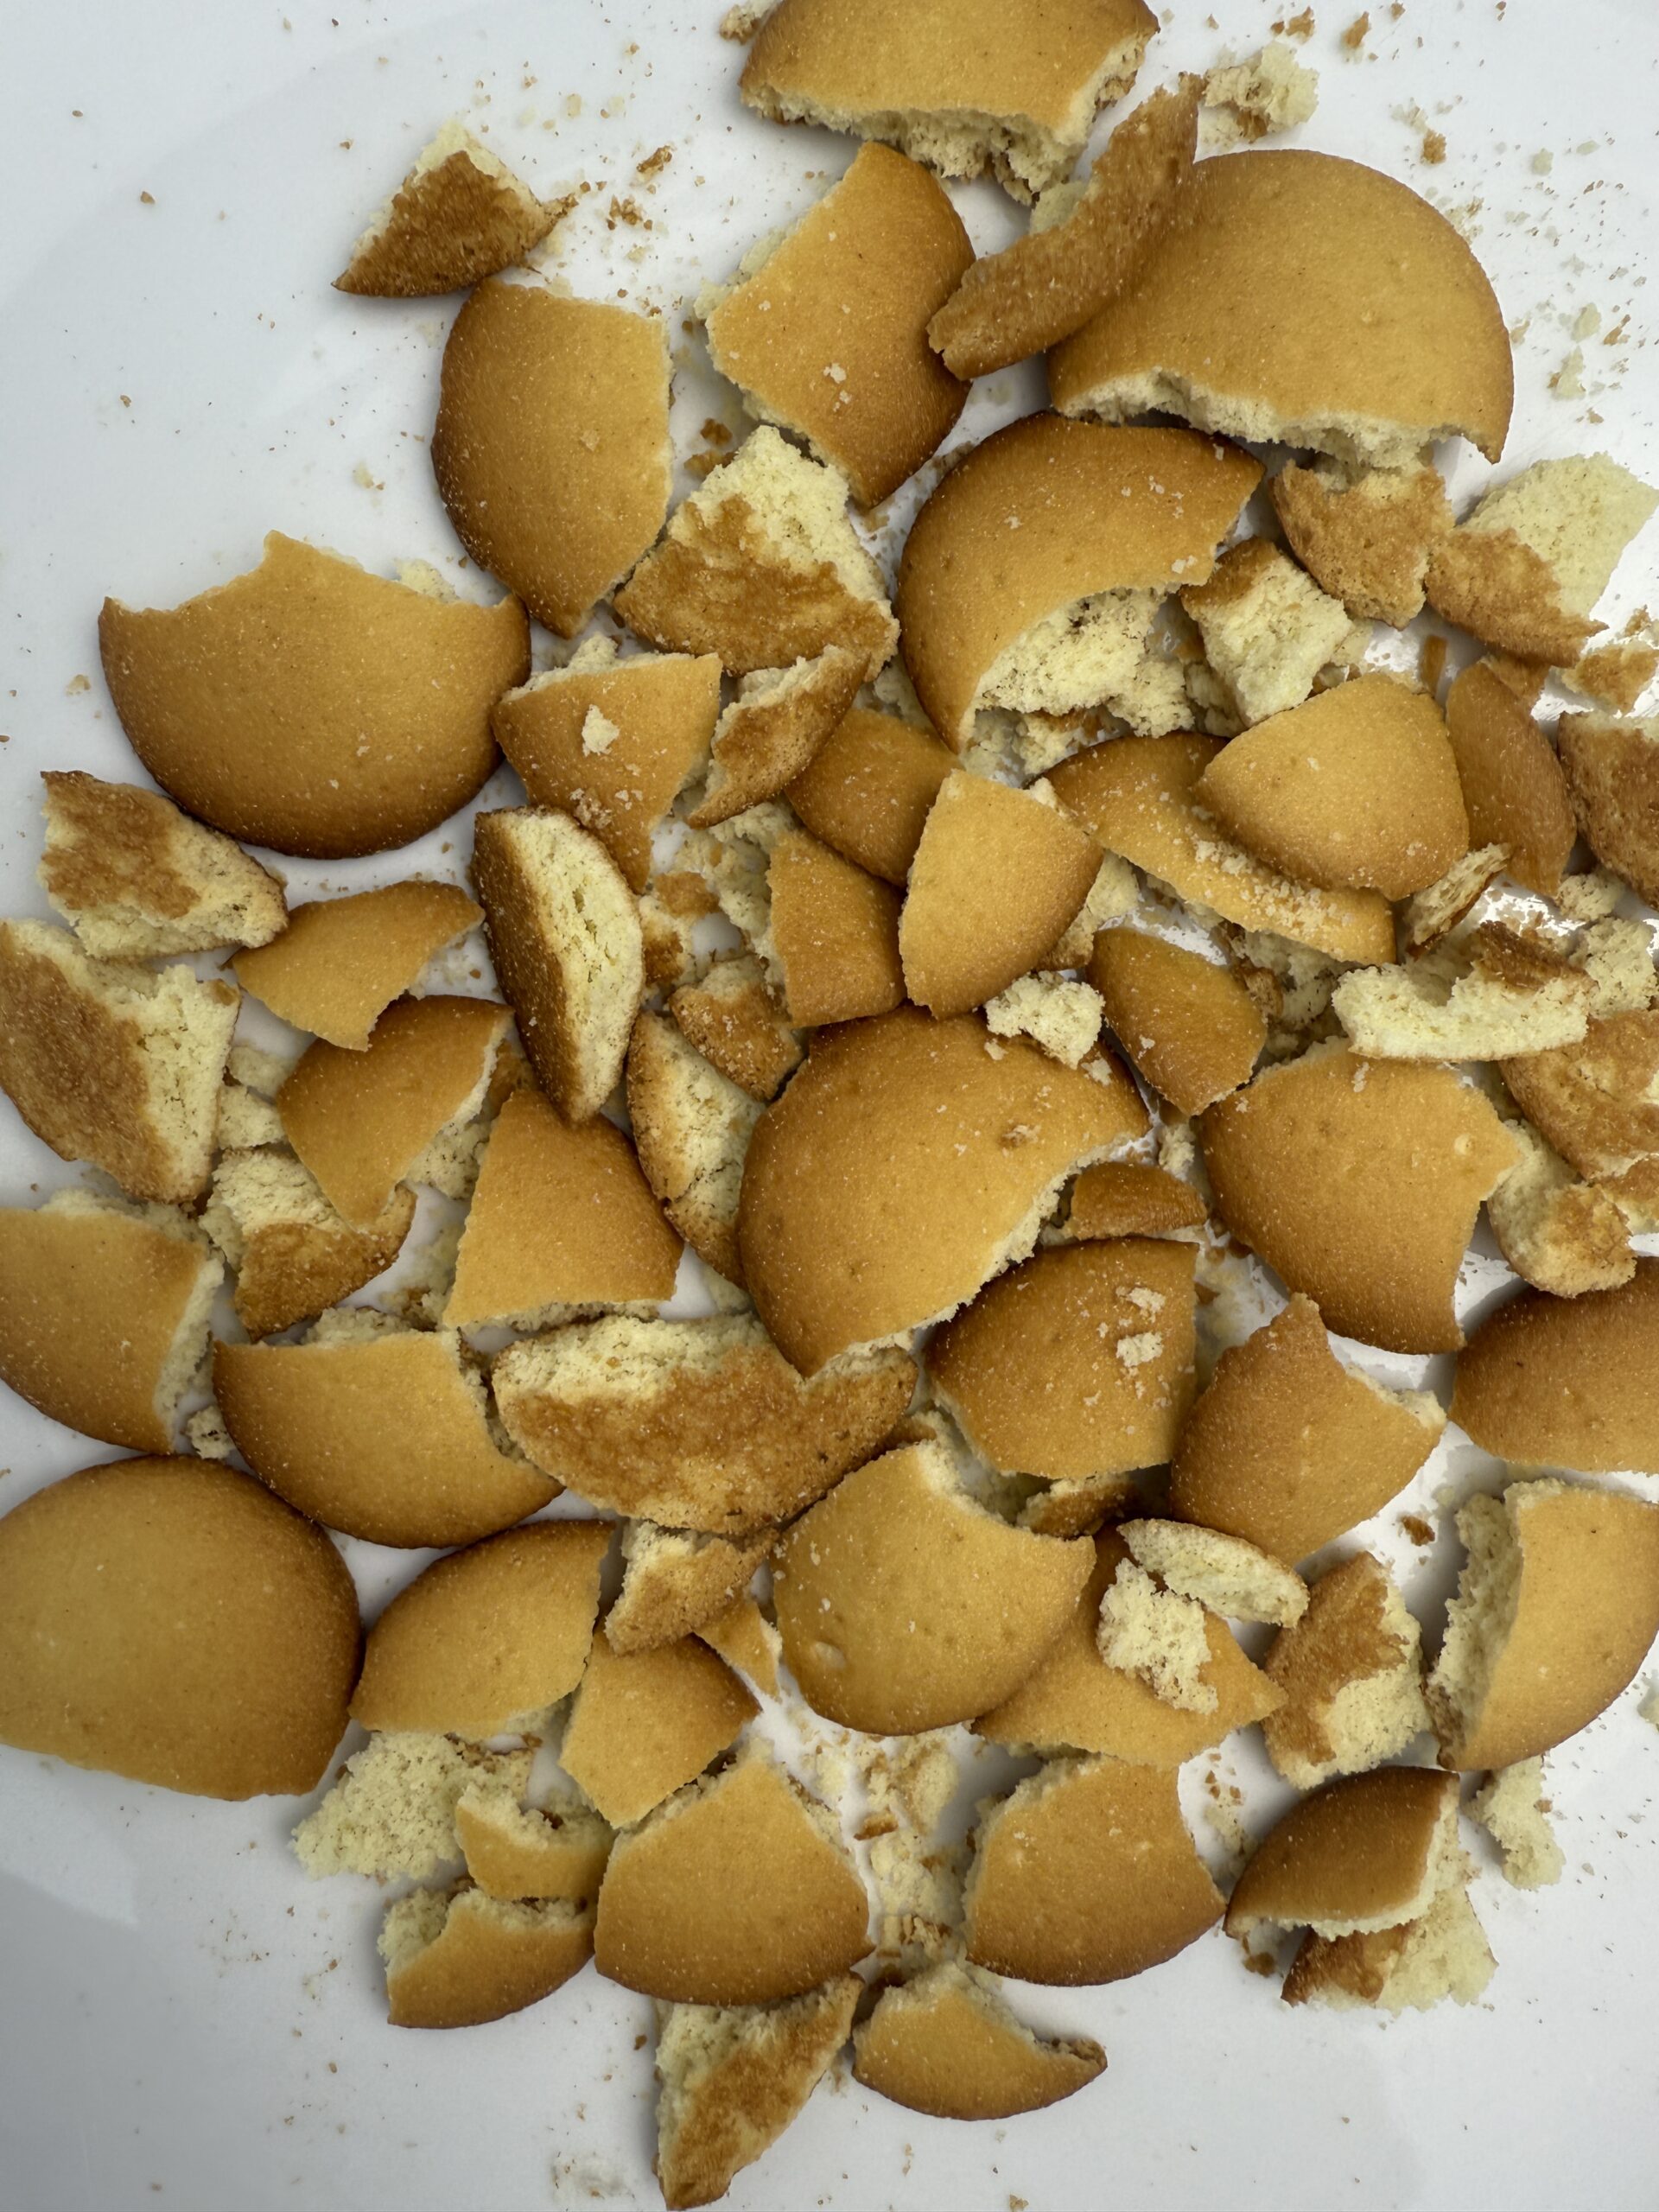
Step 7: Break vanilla wafers into pieces (half to quarter pieces) saving some whole ones for the top of the pudding
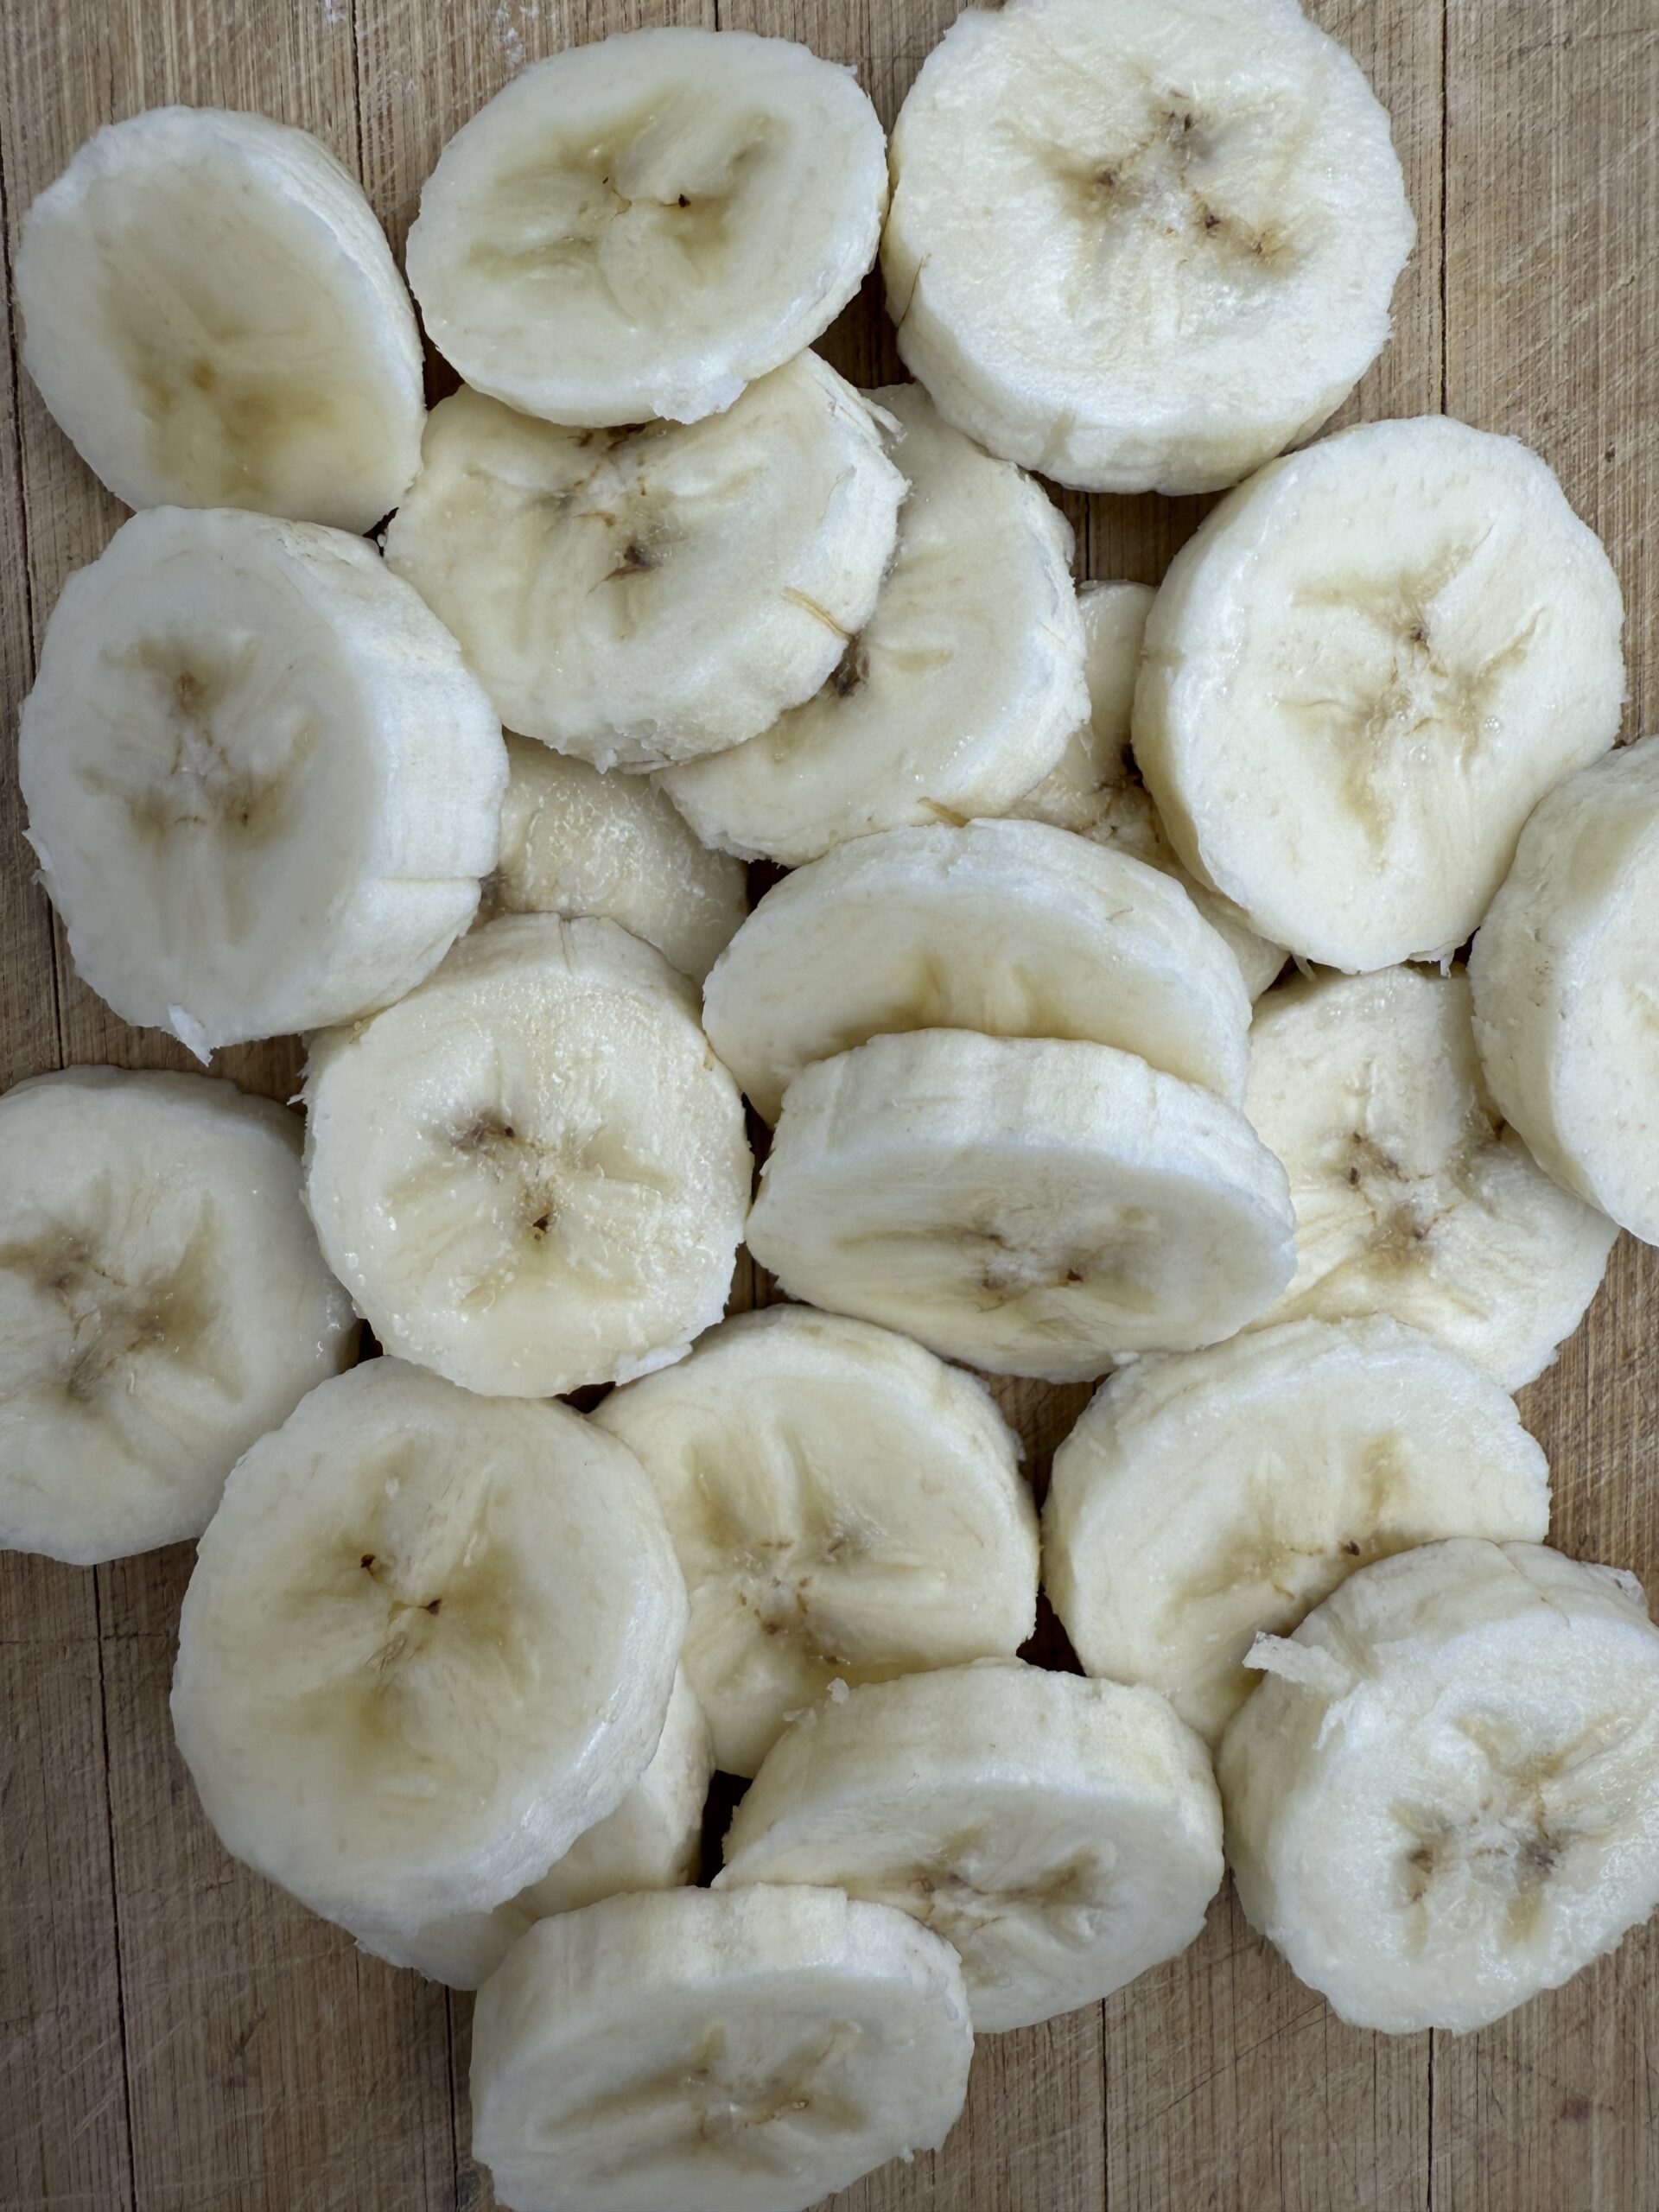
Step 8: Slice bananas into bite size pieces or slices (size is up to you).
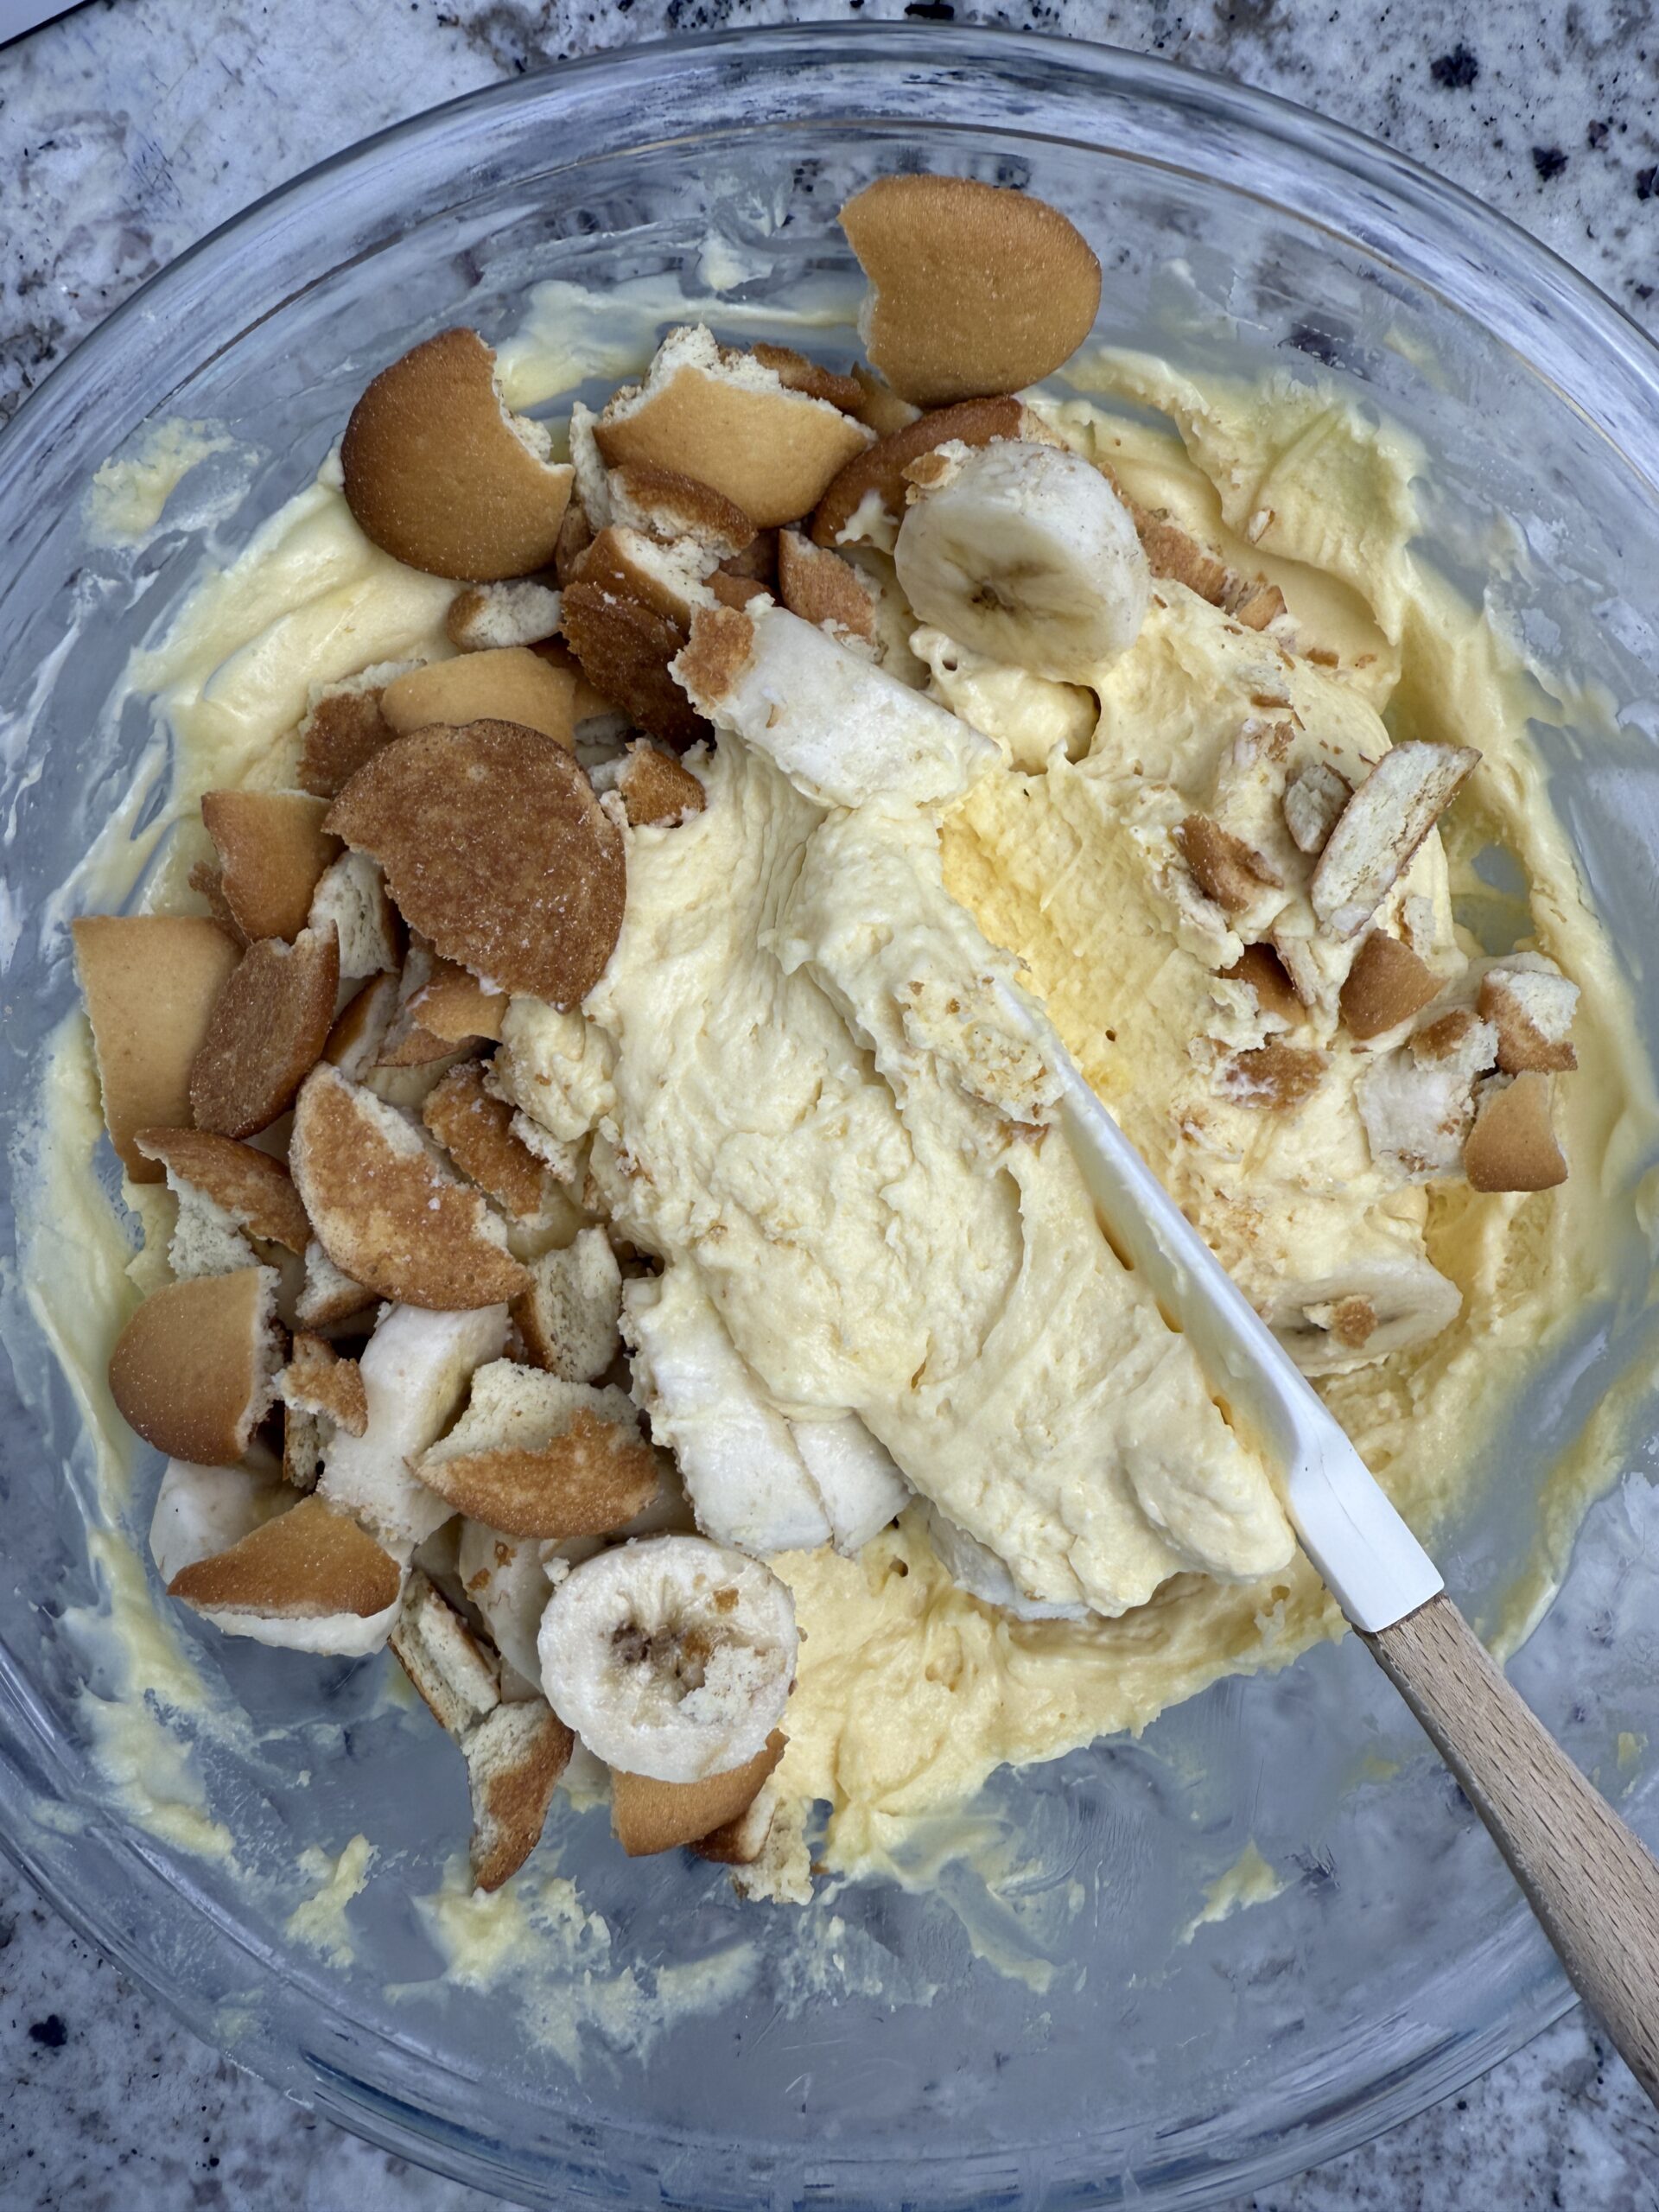
Step 9: Add bananas and wafer pieces to pudding mixture, stir to combine.
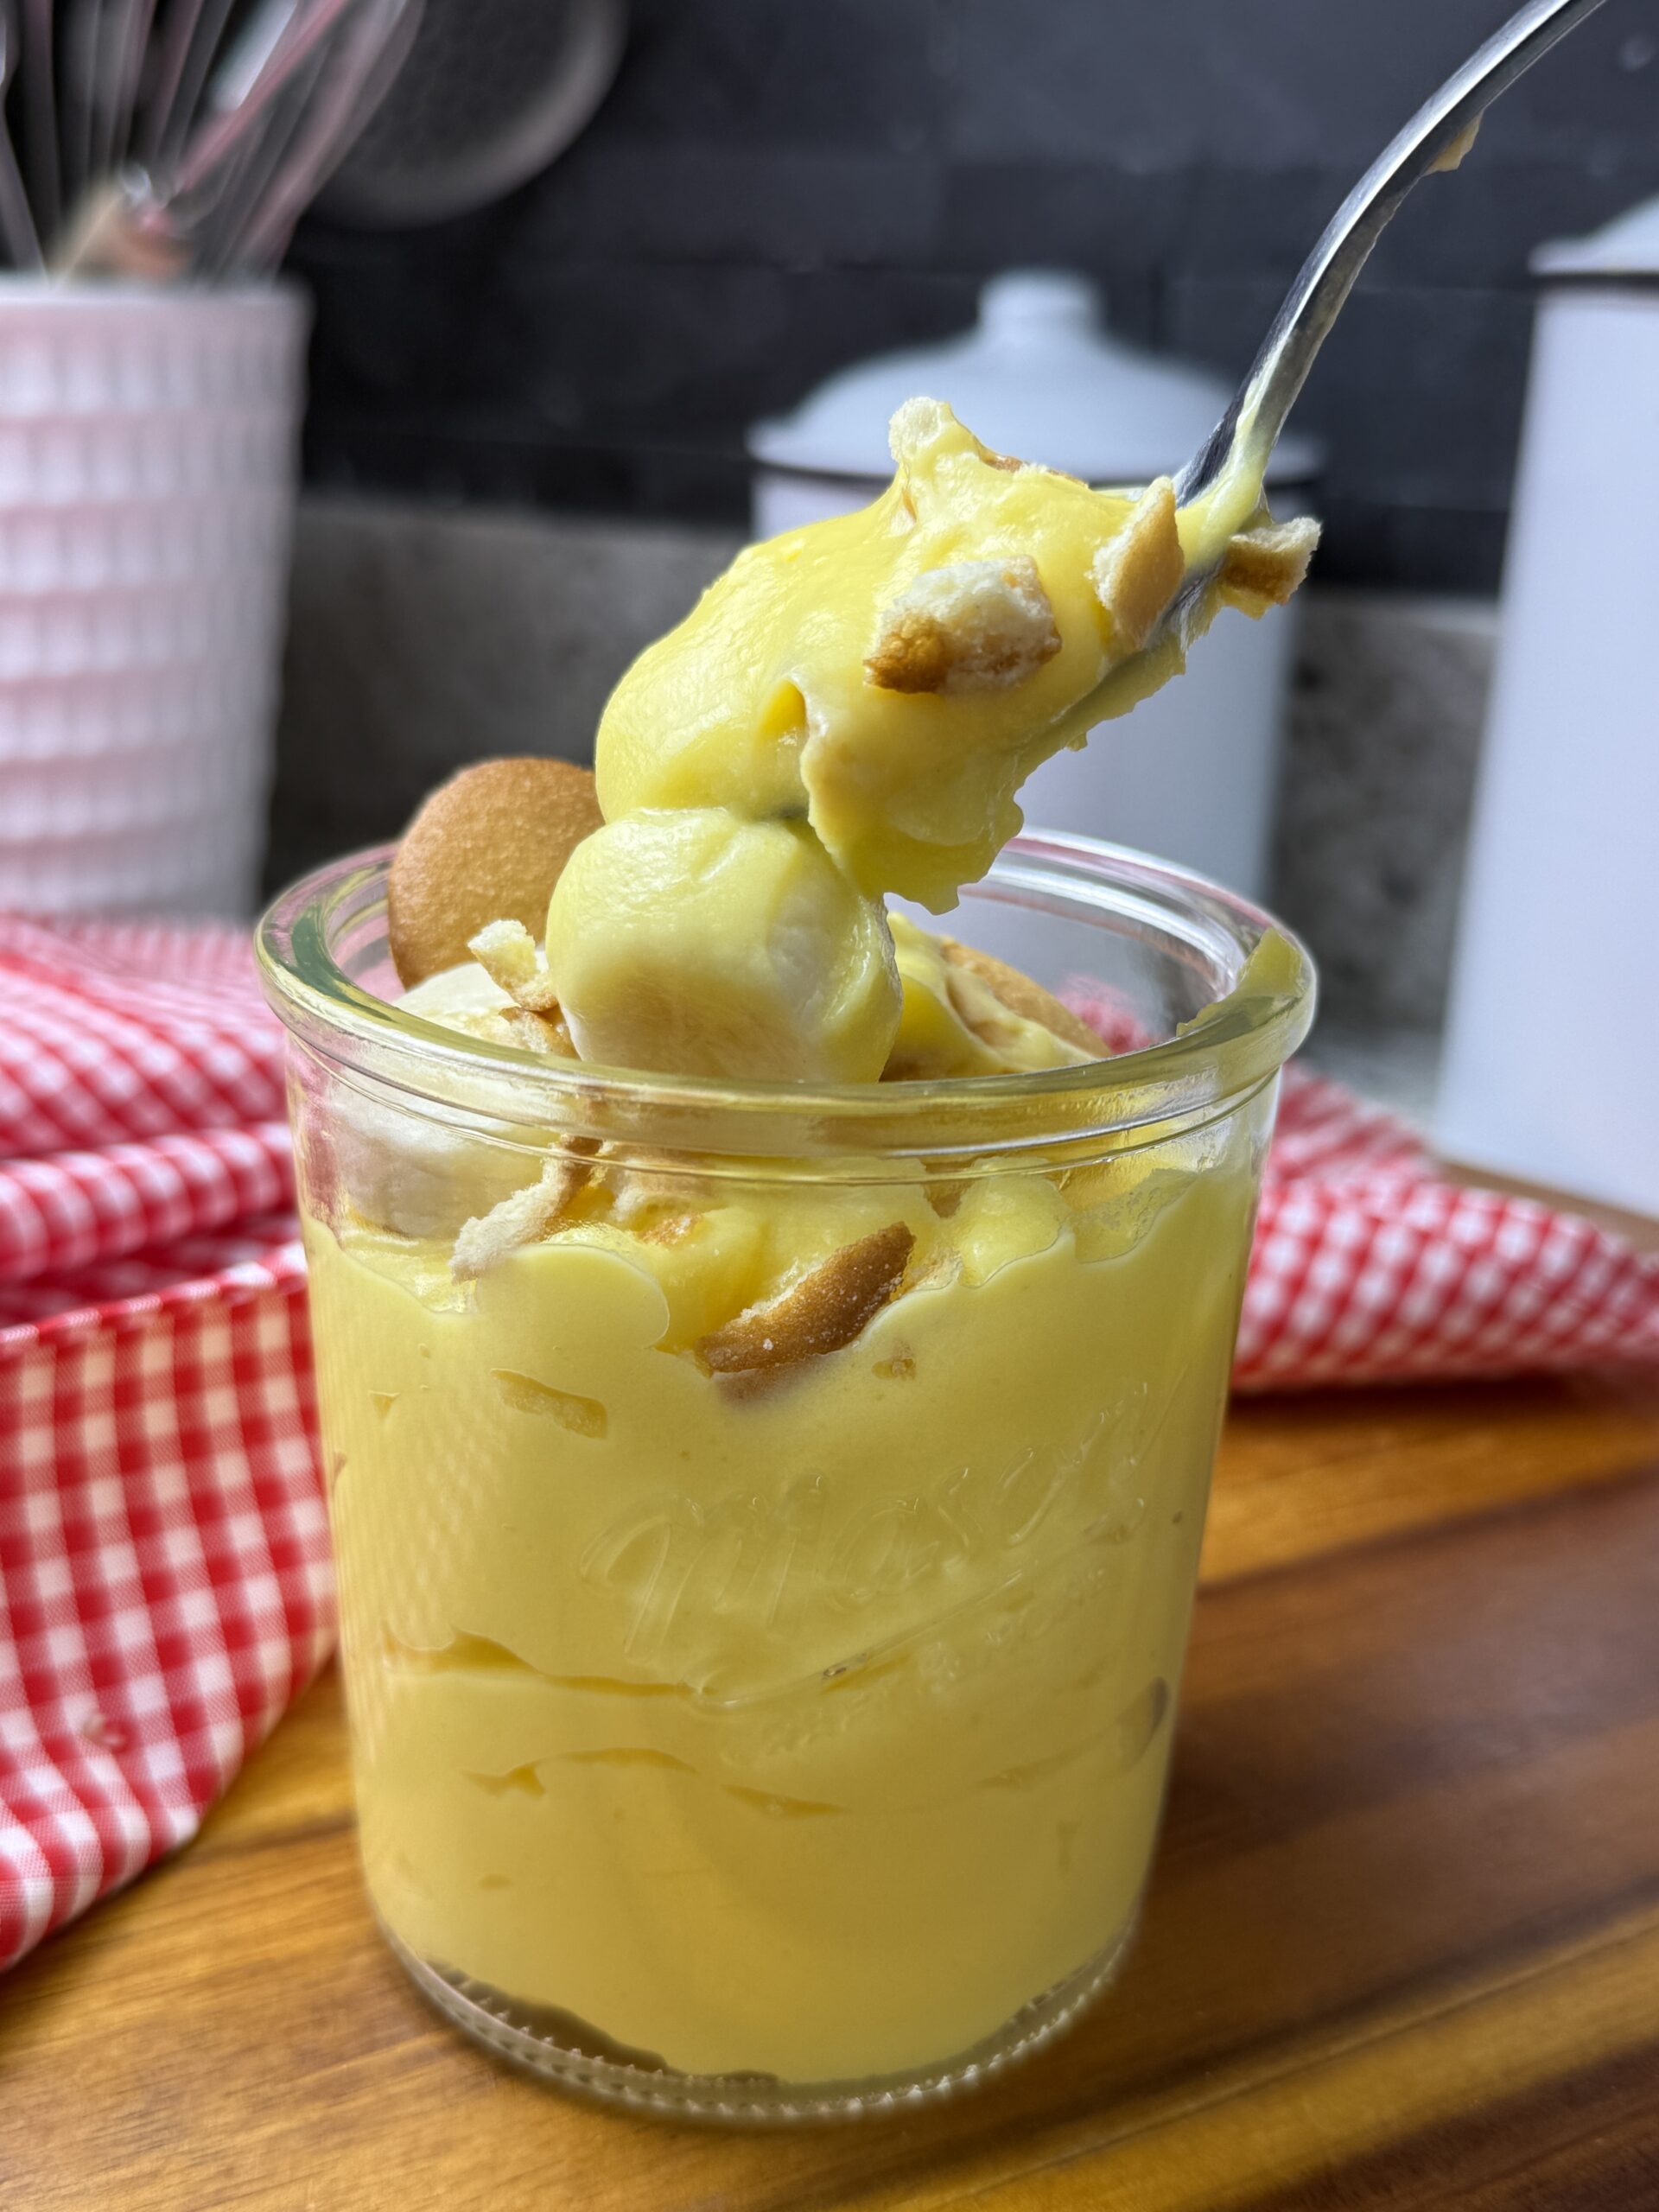
Step 10: Put mixture in a serving dish or individual dishes and garnish with more vanilla wafers. Chill for 3-4 hours for best taste and texture.
Tip: If you are going to garnish with bananas on top make sure to add them right before serving as they will darken when they are exposed to air.
Equipment
This recipe calls for a lot of mixing! You certainly can do everything with a whisk, but I would recommend a handheld electric mixer or stand mixer for whipping the cream.
Storage
Banana pudding will be great in the fridge for a day or two but after that it can start to lose some of its fluffiness and the bananas will start to brown.
Best Banana Pudding Recipe
Equipment
- Stand Mixer, Hand Mixer, or Whisk
Ingredients
- 2 cups whole milk
- 1 14 oz can sweetened condensed milk
- 1 Tbs vanilla extract
- 1 5.1 oz box instant vanilla pudding
- 8 oz heavy cream
- 1 Tbs powdered sugar
- 2 medium bananas
- 10 vanilla wafer cookies (plus more for garnish)
Instructions
Step #1 - Make Vanilla Pudding Mixture
- To a bowl add milk, condensed milk, and vanilla extract and mix until completely combined, about 2 minutes (A whisk or a handheld mixer is best for this job, a stand mixer can sometimes miss a little of the bottom of the bowl).
- Pour the pudding packet into the milk mixture and mix together quickly until combined. Pudding will set fast so be prepared to mix as soon as you pour in the packet.
- Cover bowl with plastic wrap with the wrap touching the pudding, put into the refrigerator for about 30 minutes or until pudding is set.
Step #2 - Make Whipped Cream
- Once pudding has set start on the whipped cream. If using a handheld mixer or whisk add heavy cream and powdered sugar to a medium to large bowl. If using stand mixer add to mixer bowl. Make sure cream is very cold.
- Using a handheld mixer, whisk, or stand mixer with whisk attachment, whip cream until stiff peaks form making sure not to overmix or the cream will separate.
Step #3 - Assemble Pudding
- Once pudding has set stir in whipped cream using a 'folding in' motion until combined.
- Break vanilla wafers into pieces (half to quarter pieces) saving some whole ones for the top of the pudding
- Slice bananas into bite size pieces or slices (size is up to you).
- Add bananas and wafer pieces to pudding mixture, stir to combine.
- Put mixture in a serving dish or individual dishes and garnish with more vanilla wafers. Tip: If you are going to garnish with bananas on top make sure to add them right before serving as they will darken when they are exposed to air.